
Description
Shrinking Disc Combo
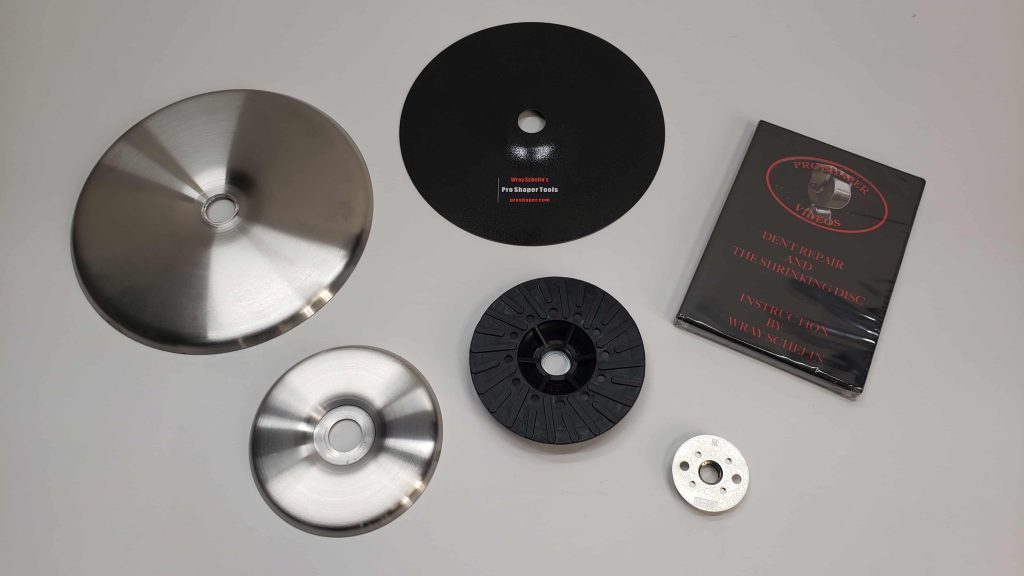
Shrinking Disc Combo Kit Everything You Need to Get Started
Get the best of both worlds with the ProShaper Shrinking Disc Combo Kit.
This complete set includes both the 9″ and 5″ stainless steel shrinking discs, backing pads, and our instructional Dent Removal DVD.
Perfect for restorers, hot rod builders, and professionals who want the right disc for every job.
What’s Included
-
9″ Shrinking Disc + 9″ backing pad
-
5″ Shrinking Disc + 5″ backing pad
-
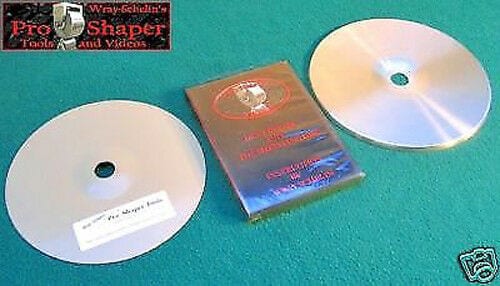
Dent Removal and the Shrinking Disc DVD lesson
Why Choose the Combo Kit?
- Both sizes covered – Use the 9″ disc for large panels (hoods, doors, quarter panels) and the 5″ disc for detail work (motorcycle tanks, patch panels, tight curves).
- Save money – Buying together costs less than purchasing individually.
- Complete training – The DVD walks you through step-by-step shrinking and dent removal techniques.
- Proven quality – Discs made from heavy-gauge stainless steel, built for years of professional use.
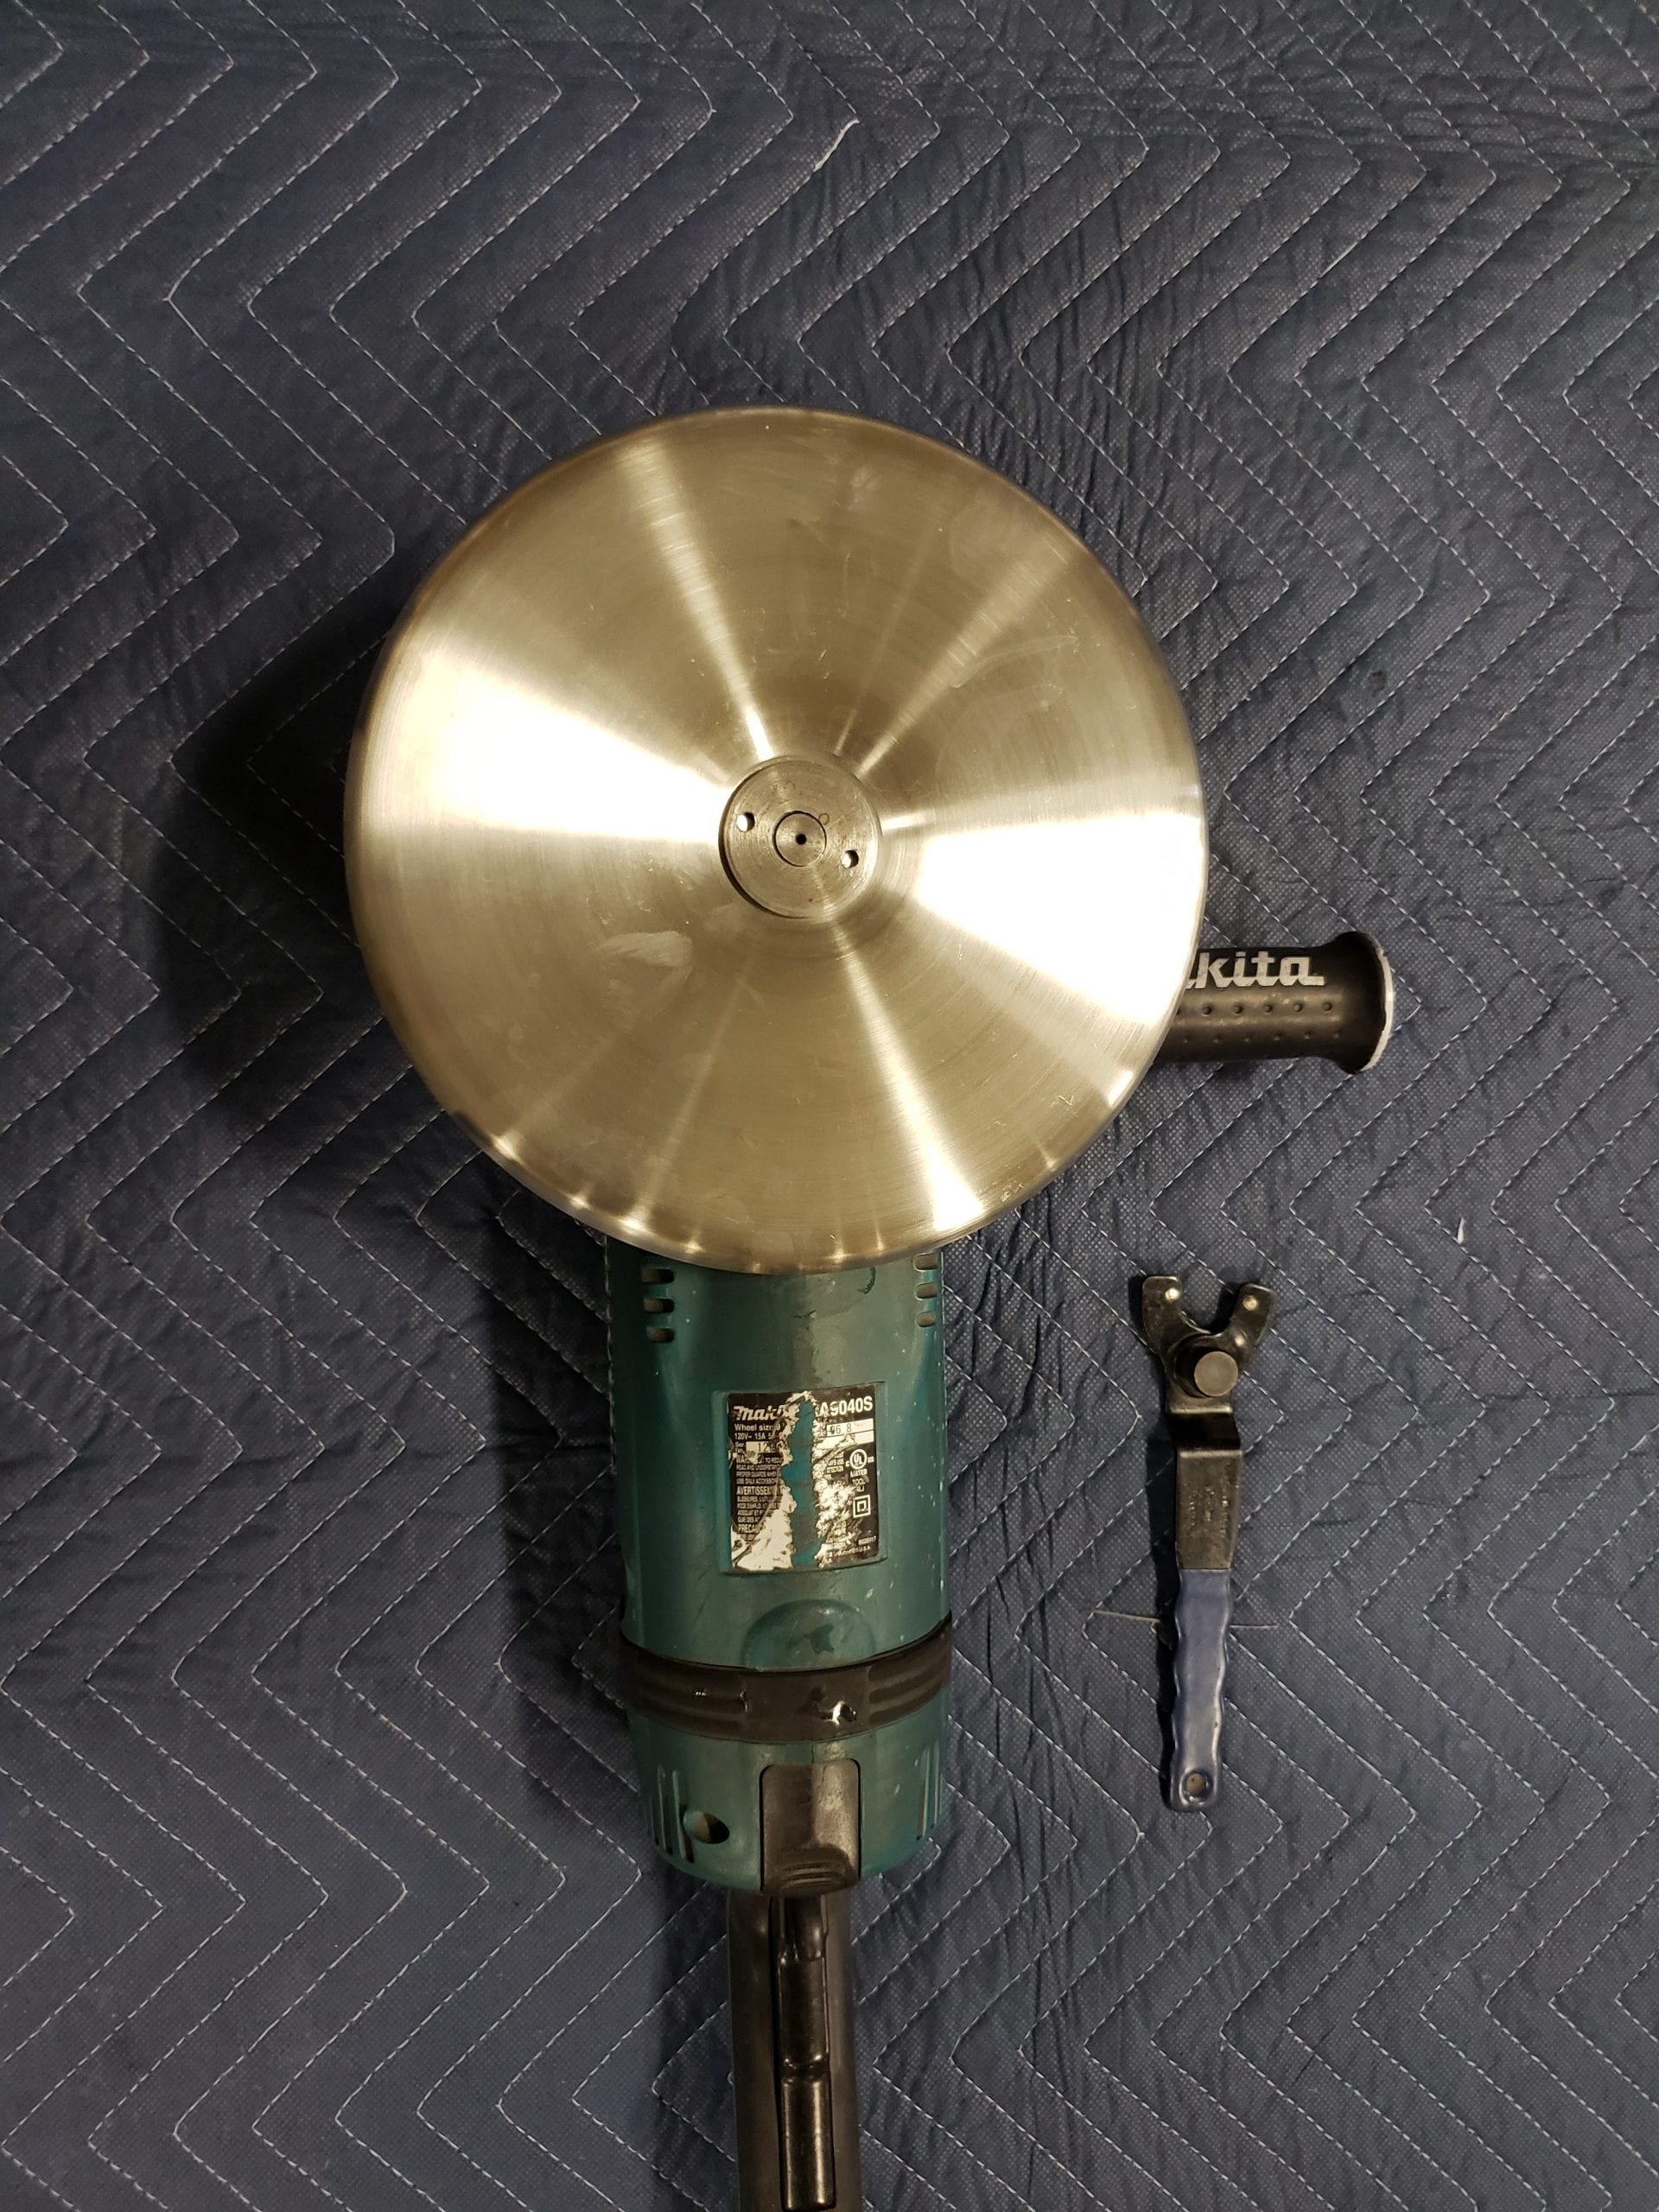
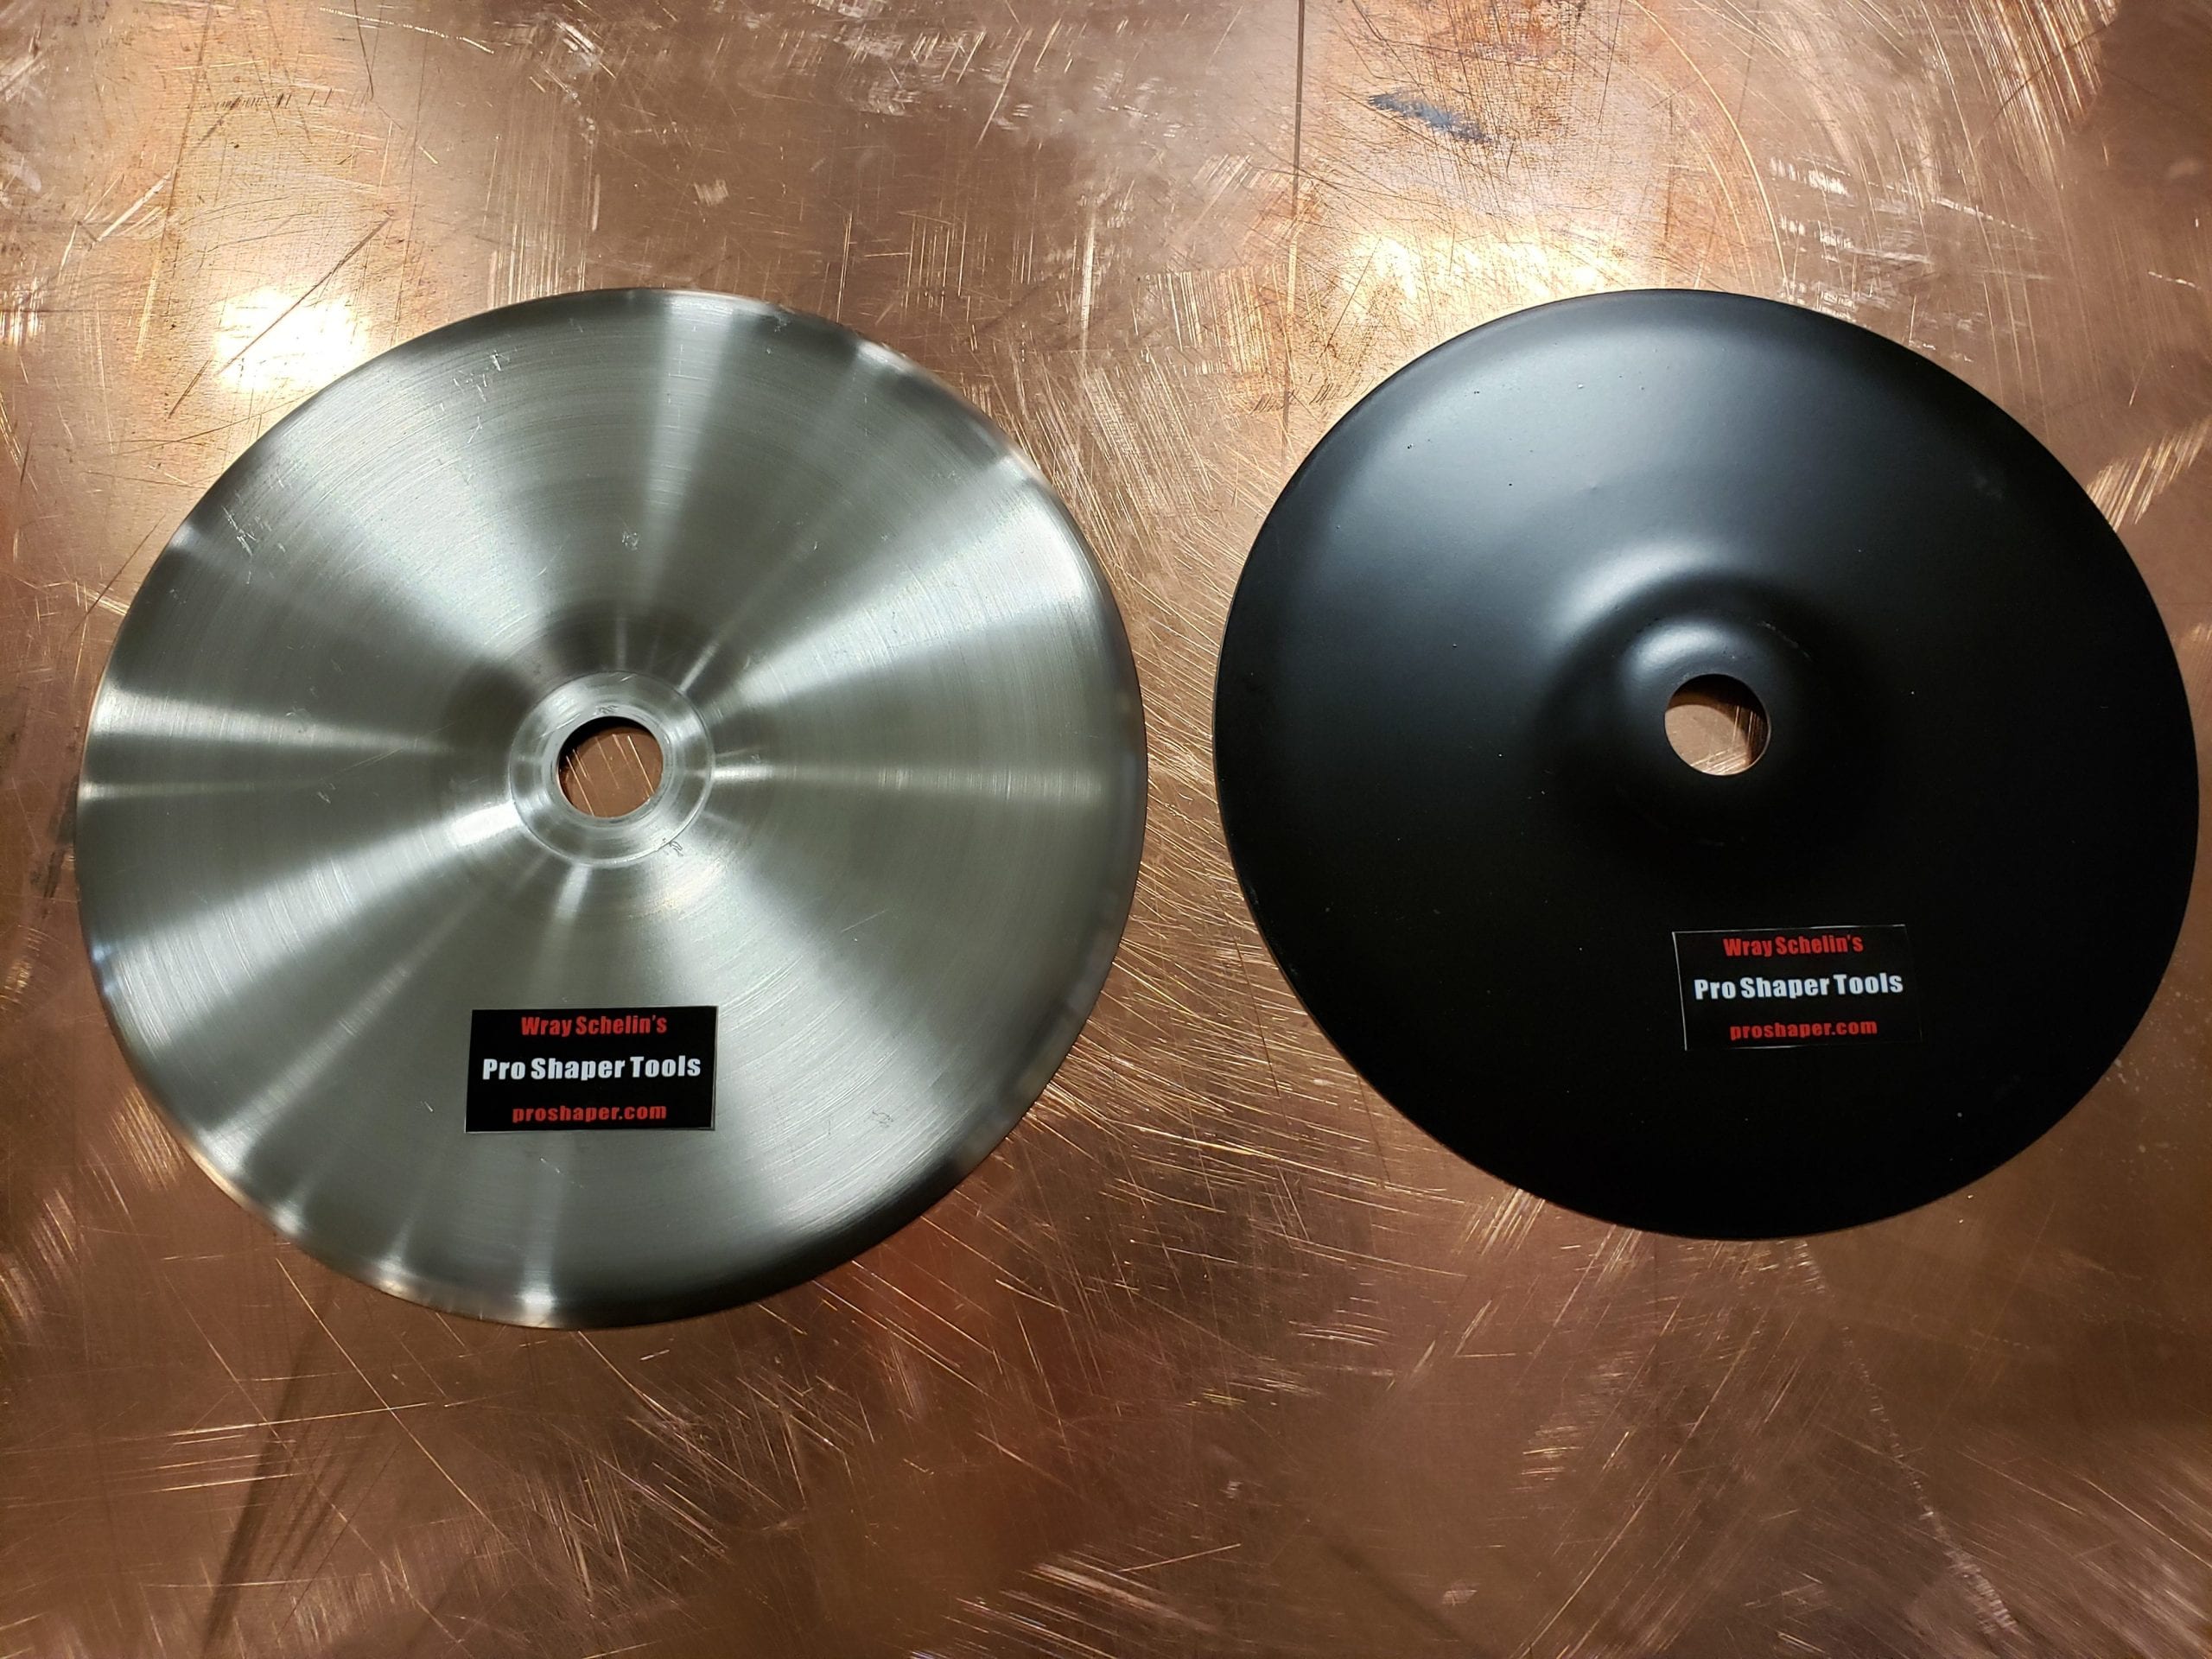
The 9″ Shrinking Disc
Best for large, flat or gently curved areas like hoods, doors, and roof skins.
The 9″ disc covers more surface area quickly, letting you shrink stretched panels efficiently.
Made from .060″ stainless steel for durability and smoother panels compared to thinner alternatives.
The 5″ Shrinking Disc
Perfect for confined spaces and small panels such as motorcycle tanks, fenders, and tight curves.
Use it to refine details where the 9″ disc cannot reach.
Made from 16-gauge stainless steel and built for years of heavy use.
Dent Removal DVD
Learn directly from Wray Schelin with a professional multi-camera lesson.
Watch step-by-step techniques for using shrinking discs to remove dents and create filler-free panels.
Includes a demonstration on a 1935 Chrysler fender.
FAQ
Why should I buy the combo instead of a single disc?
Because each size has a specific role. The 9″ is fast and efficient for big surfaces, while the 5″ gives you control in small or curved areas.
With both in your toolbox, you’re prepared for every situation.
Do I need the DVD if I already know how to use shrinking discs?
The DVD is valuable even for experienced users — it demonstrates advanced techniques and tips that will help you get smoother results faster.
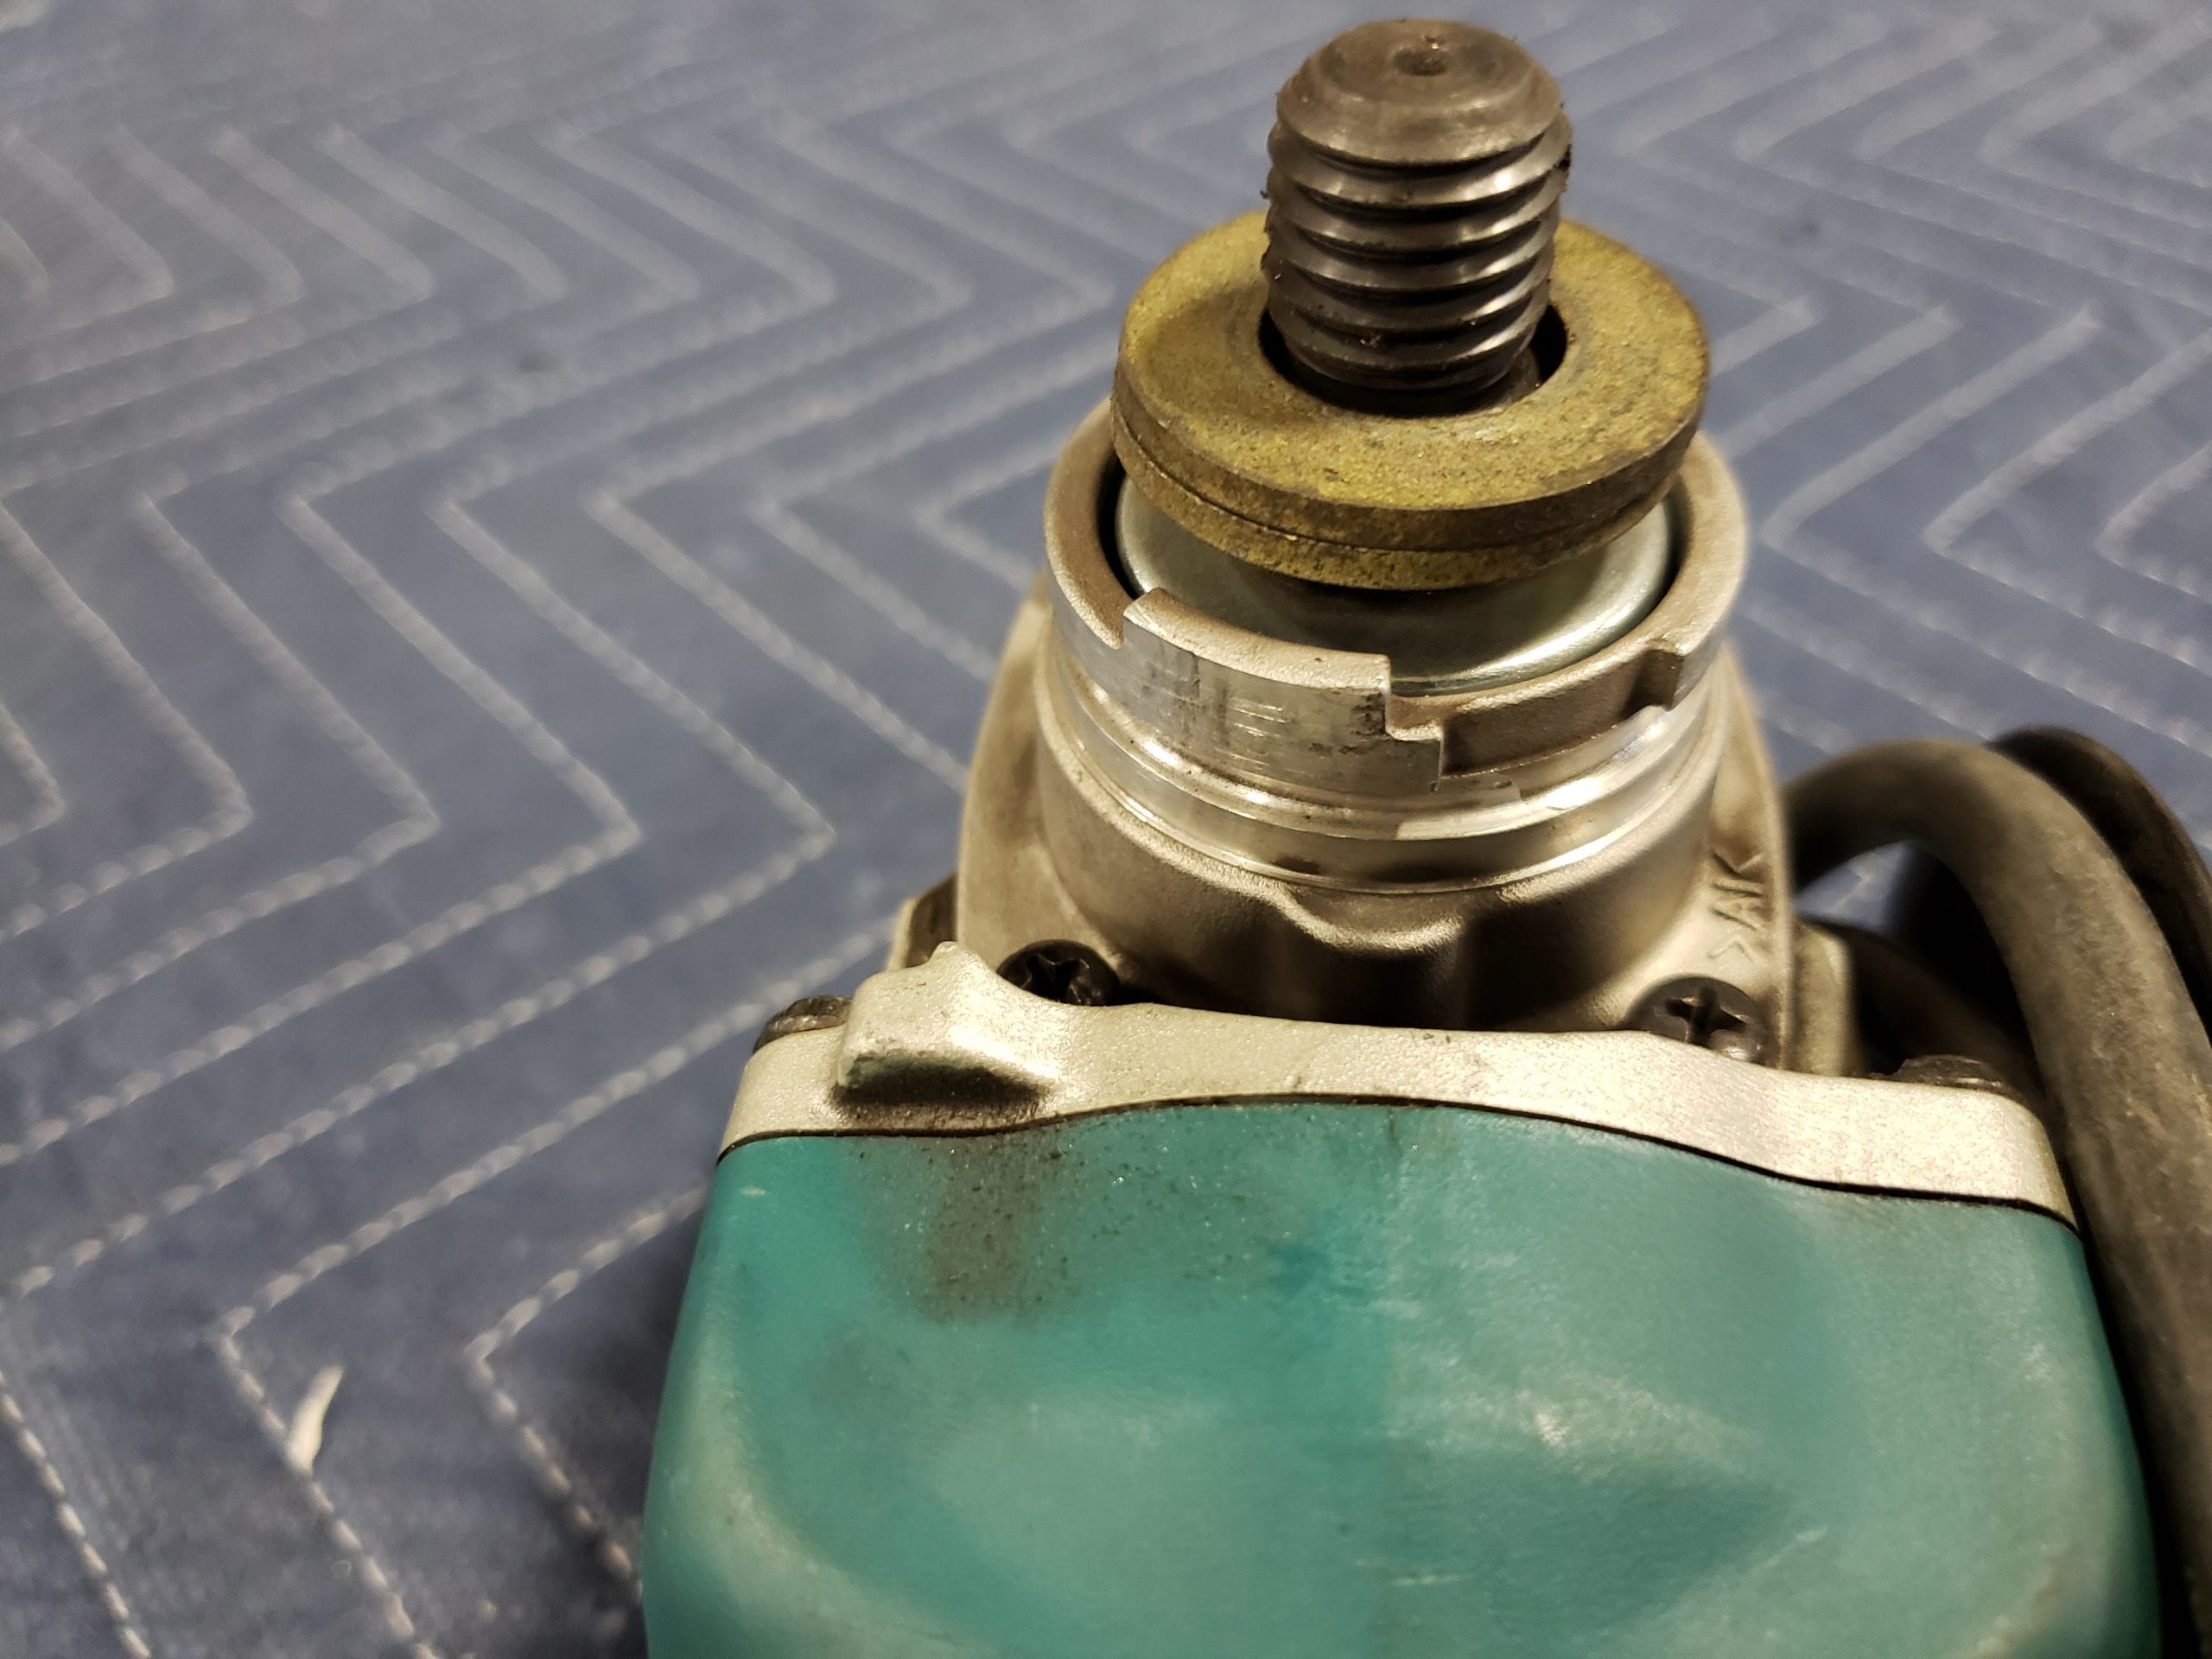
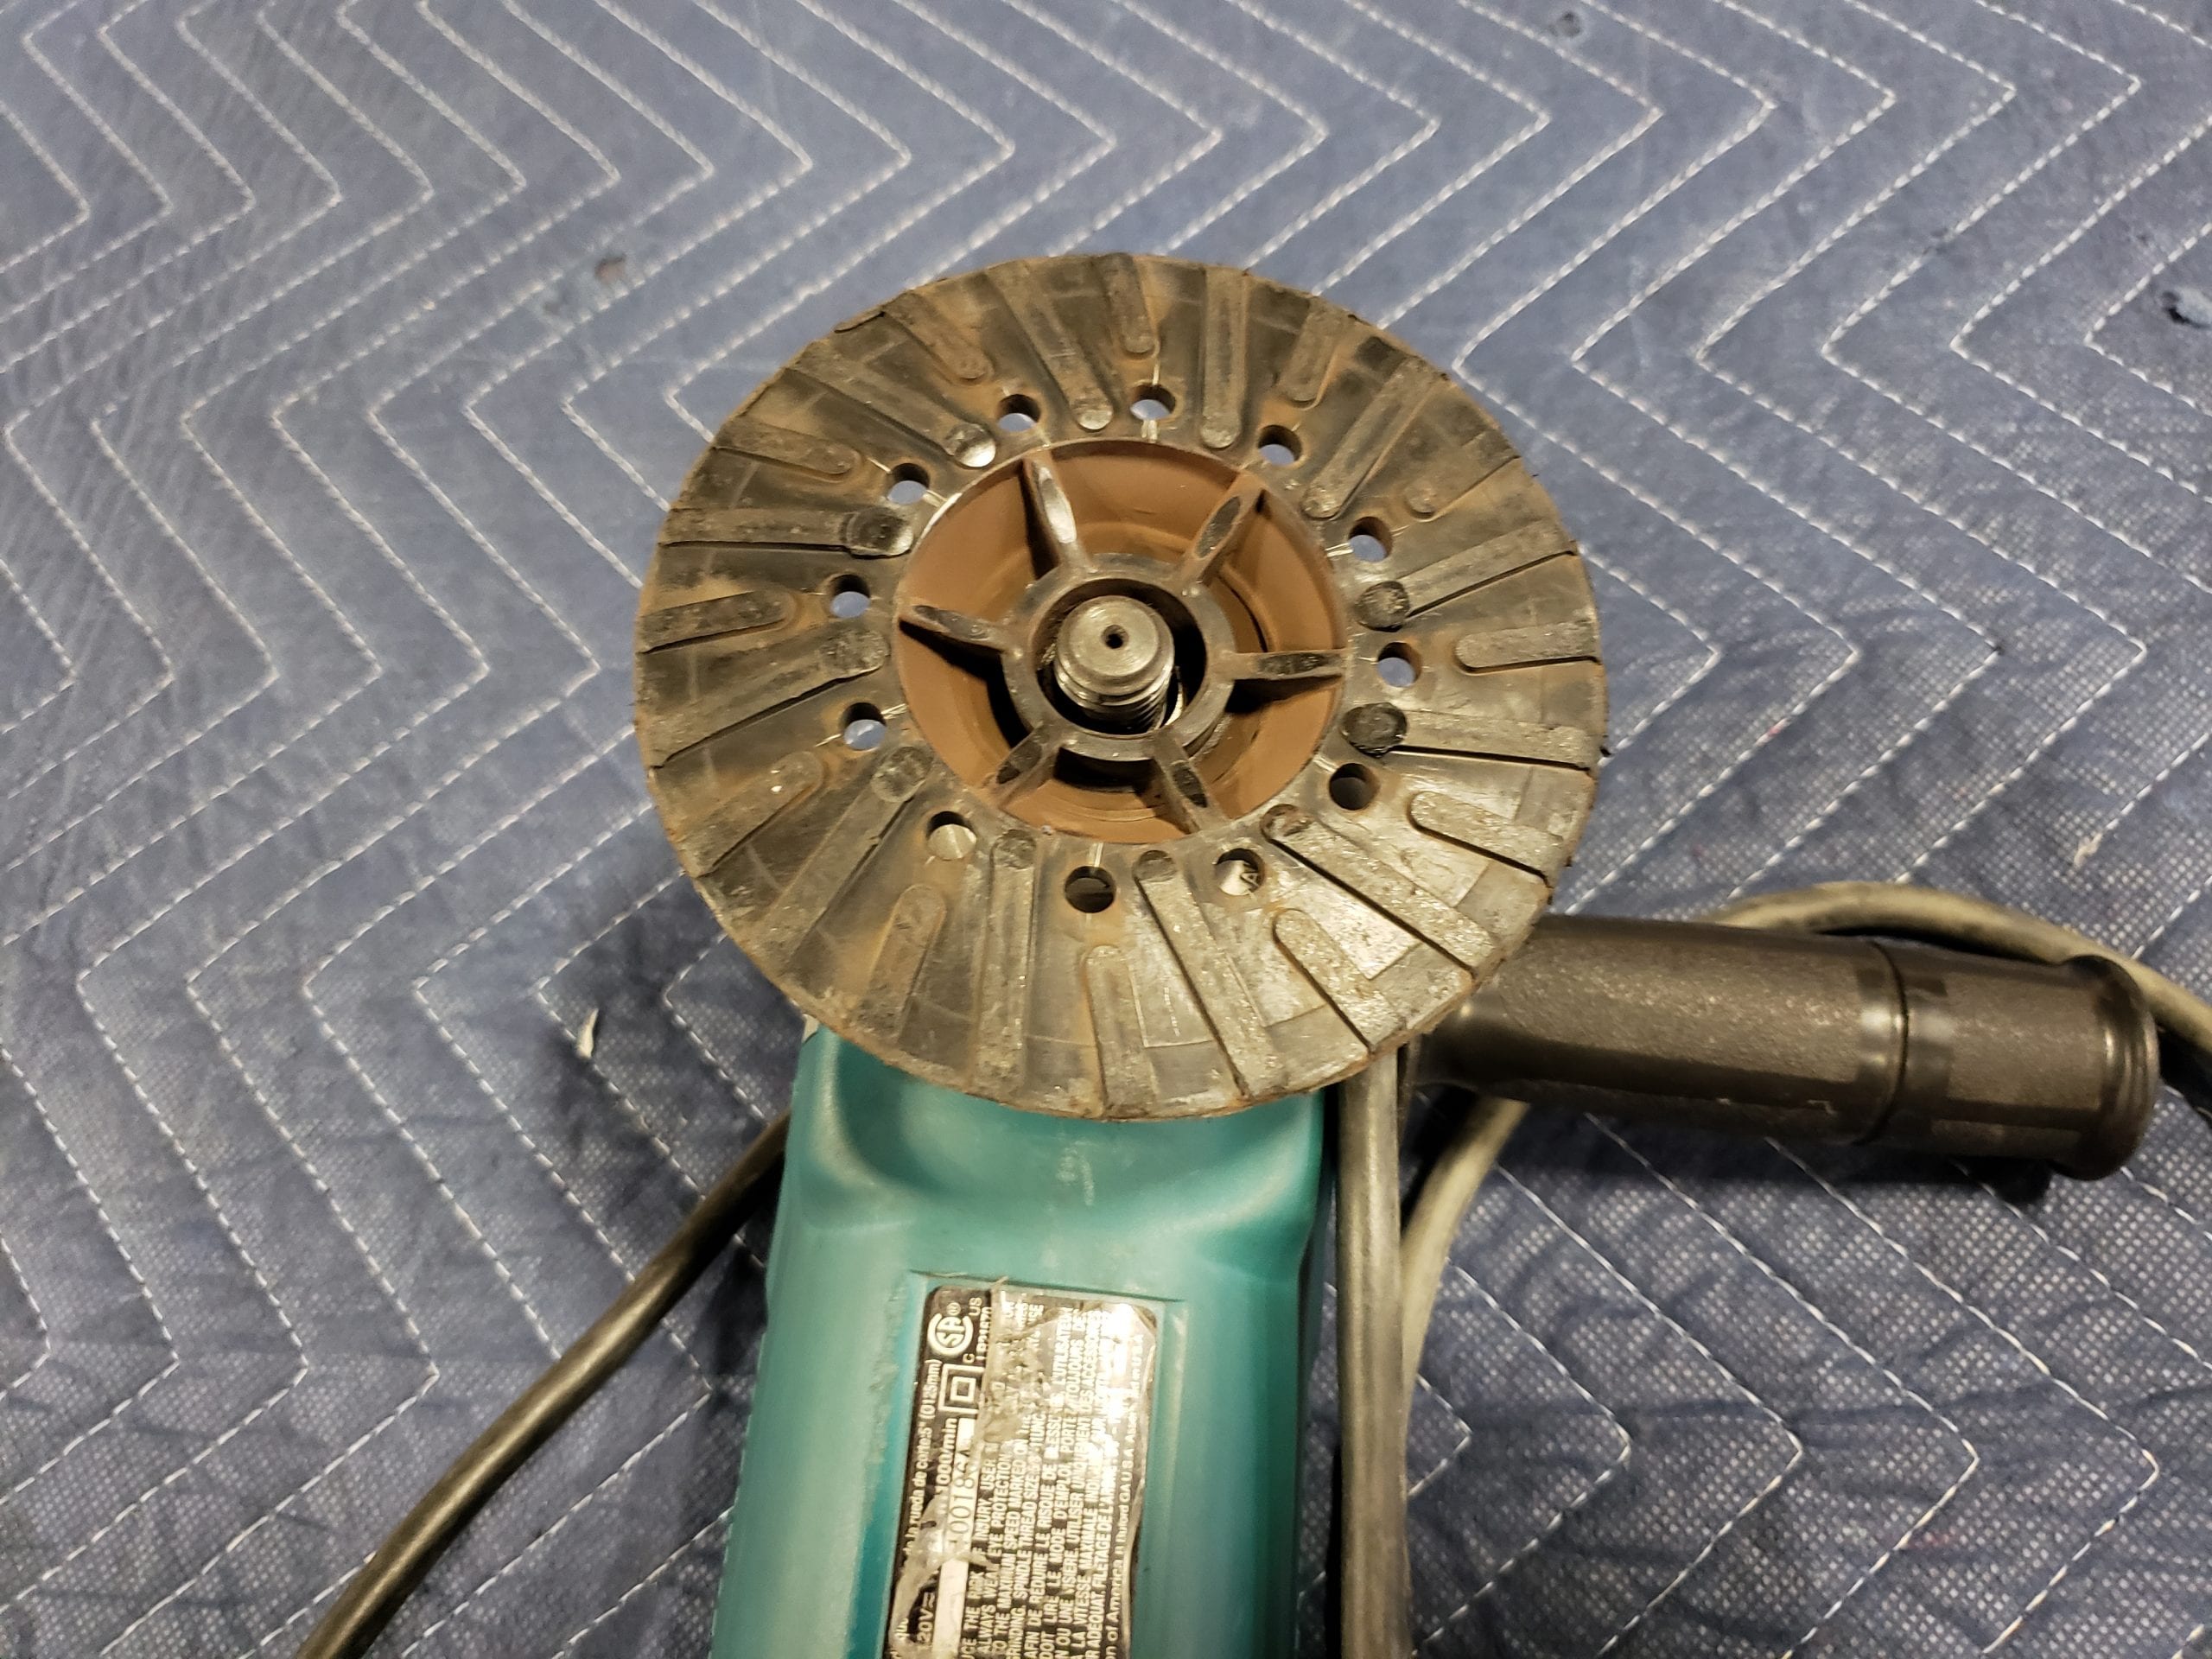
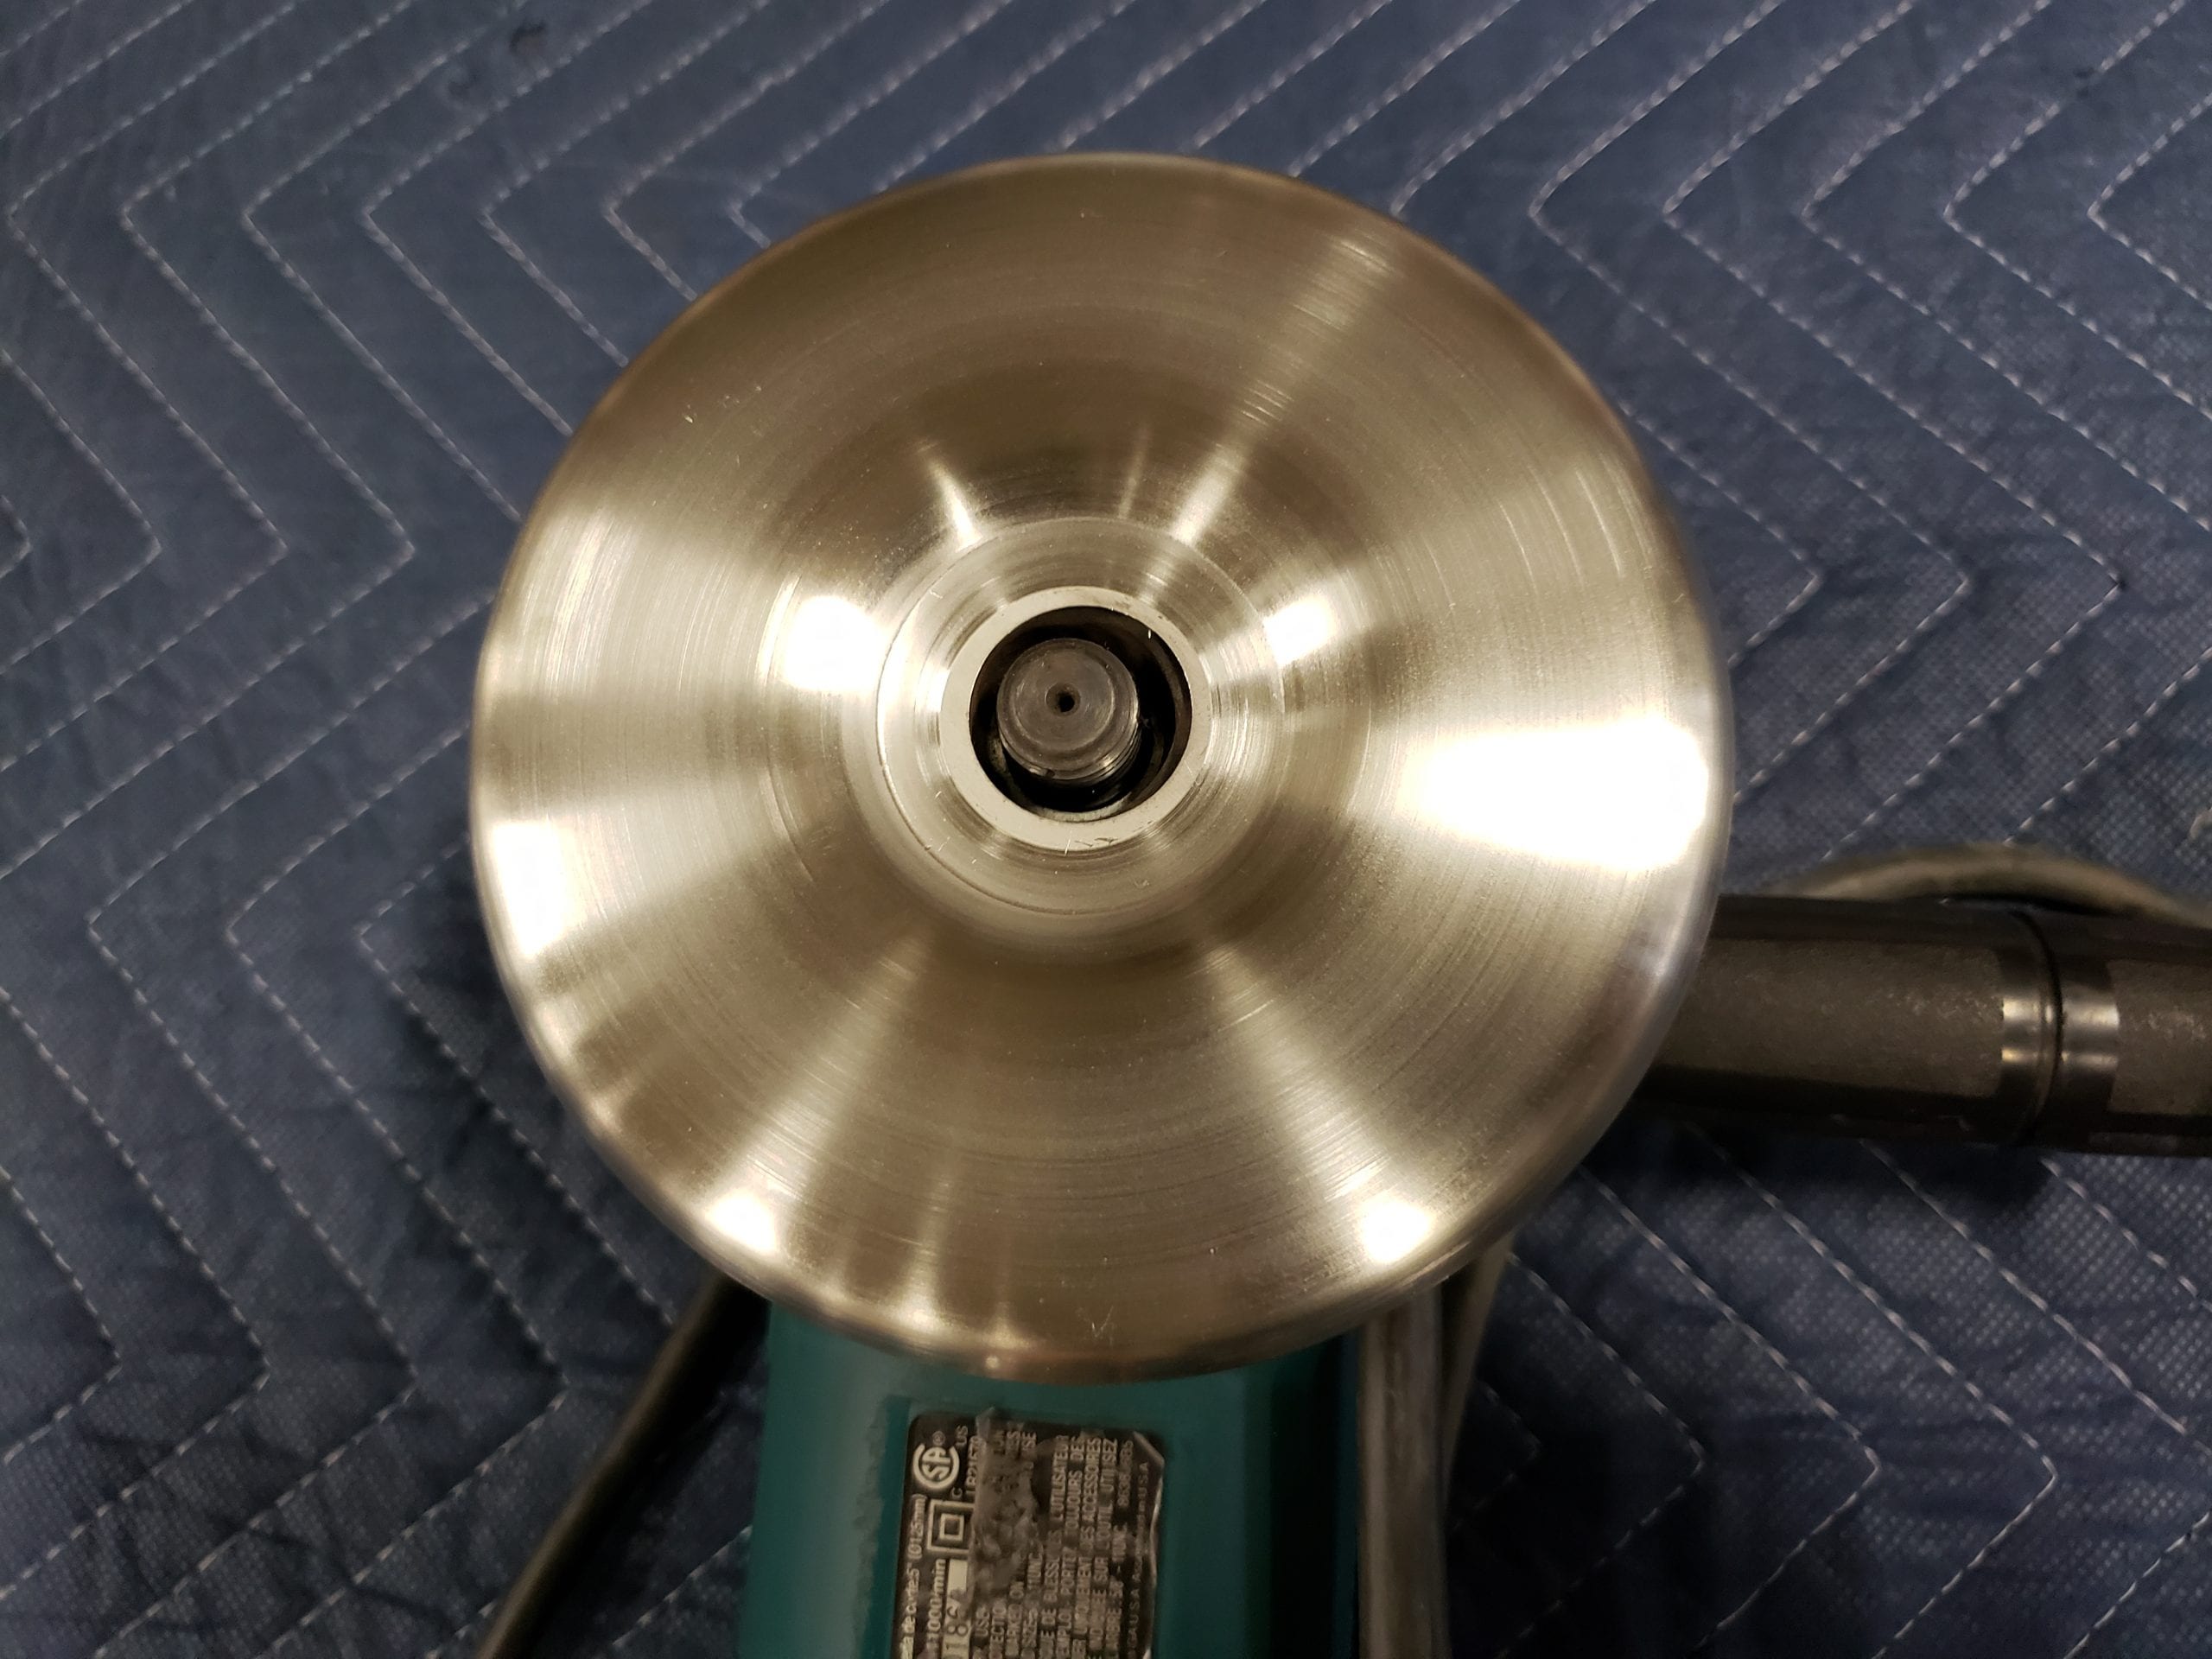
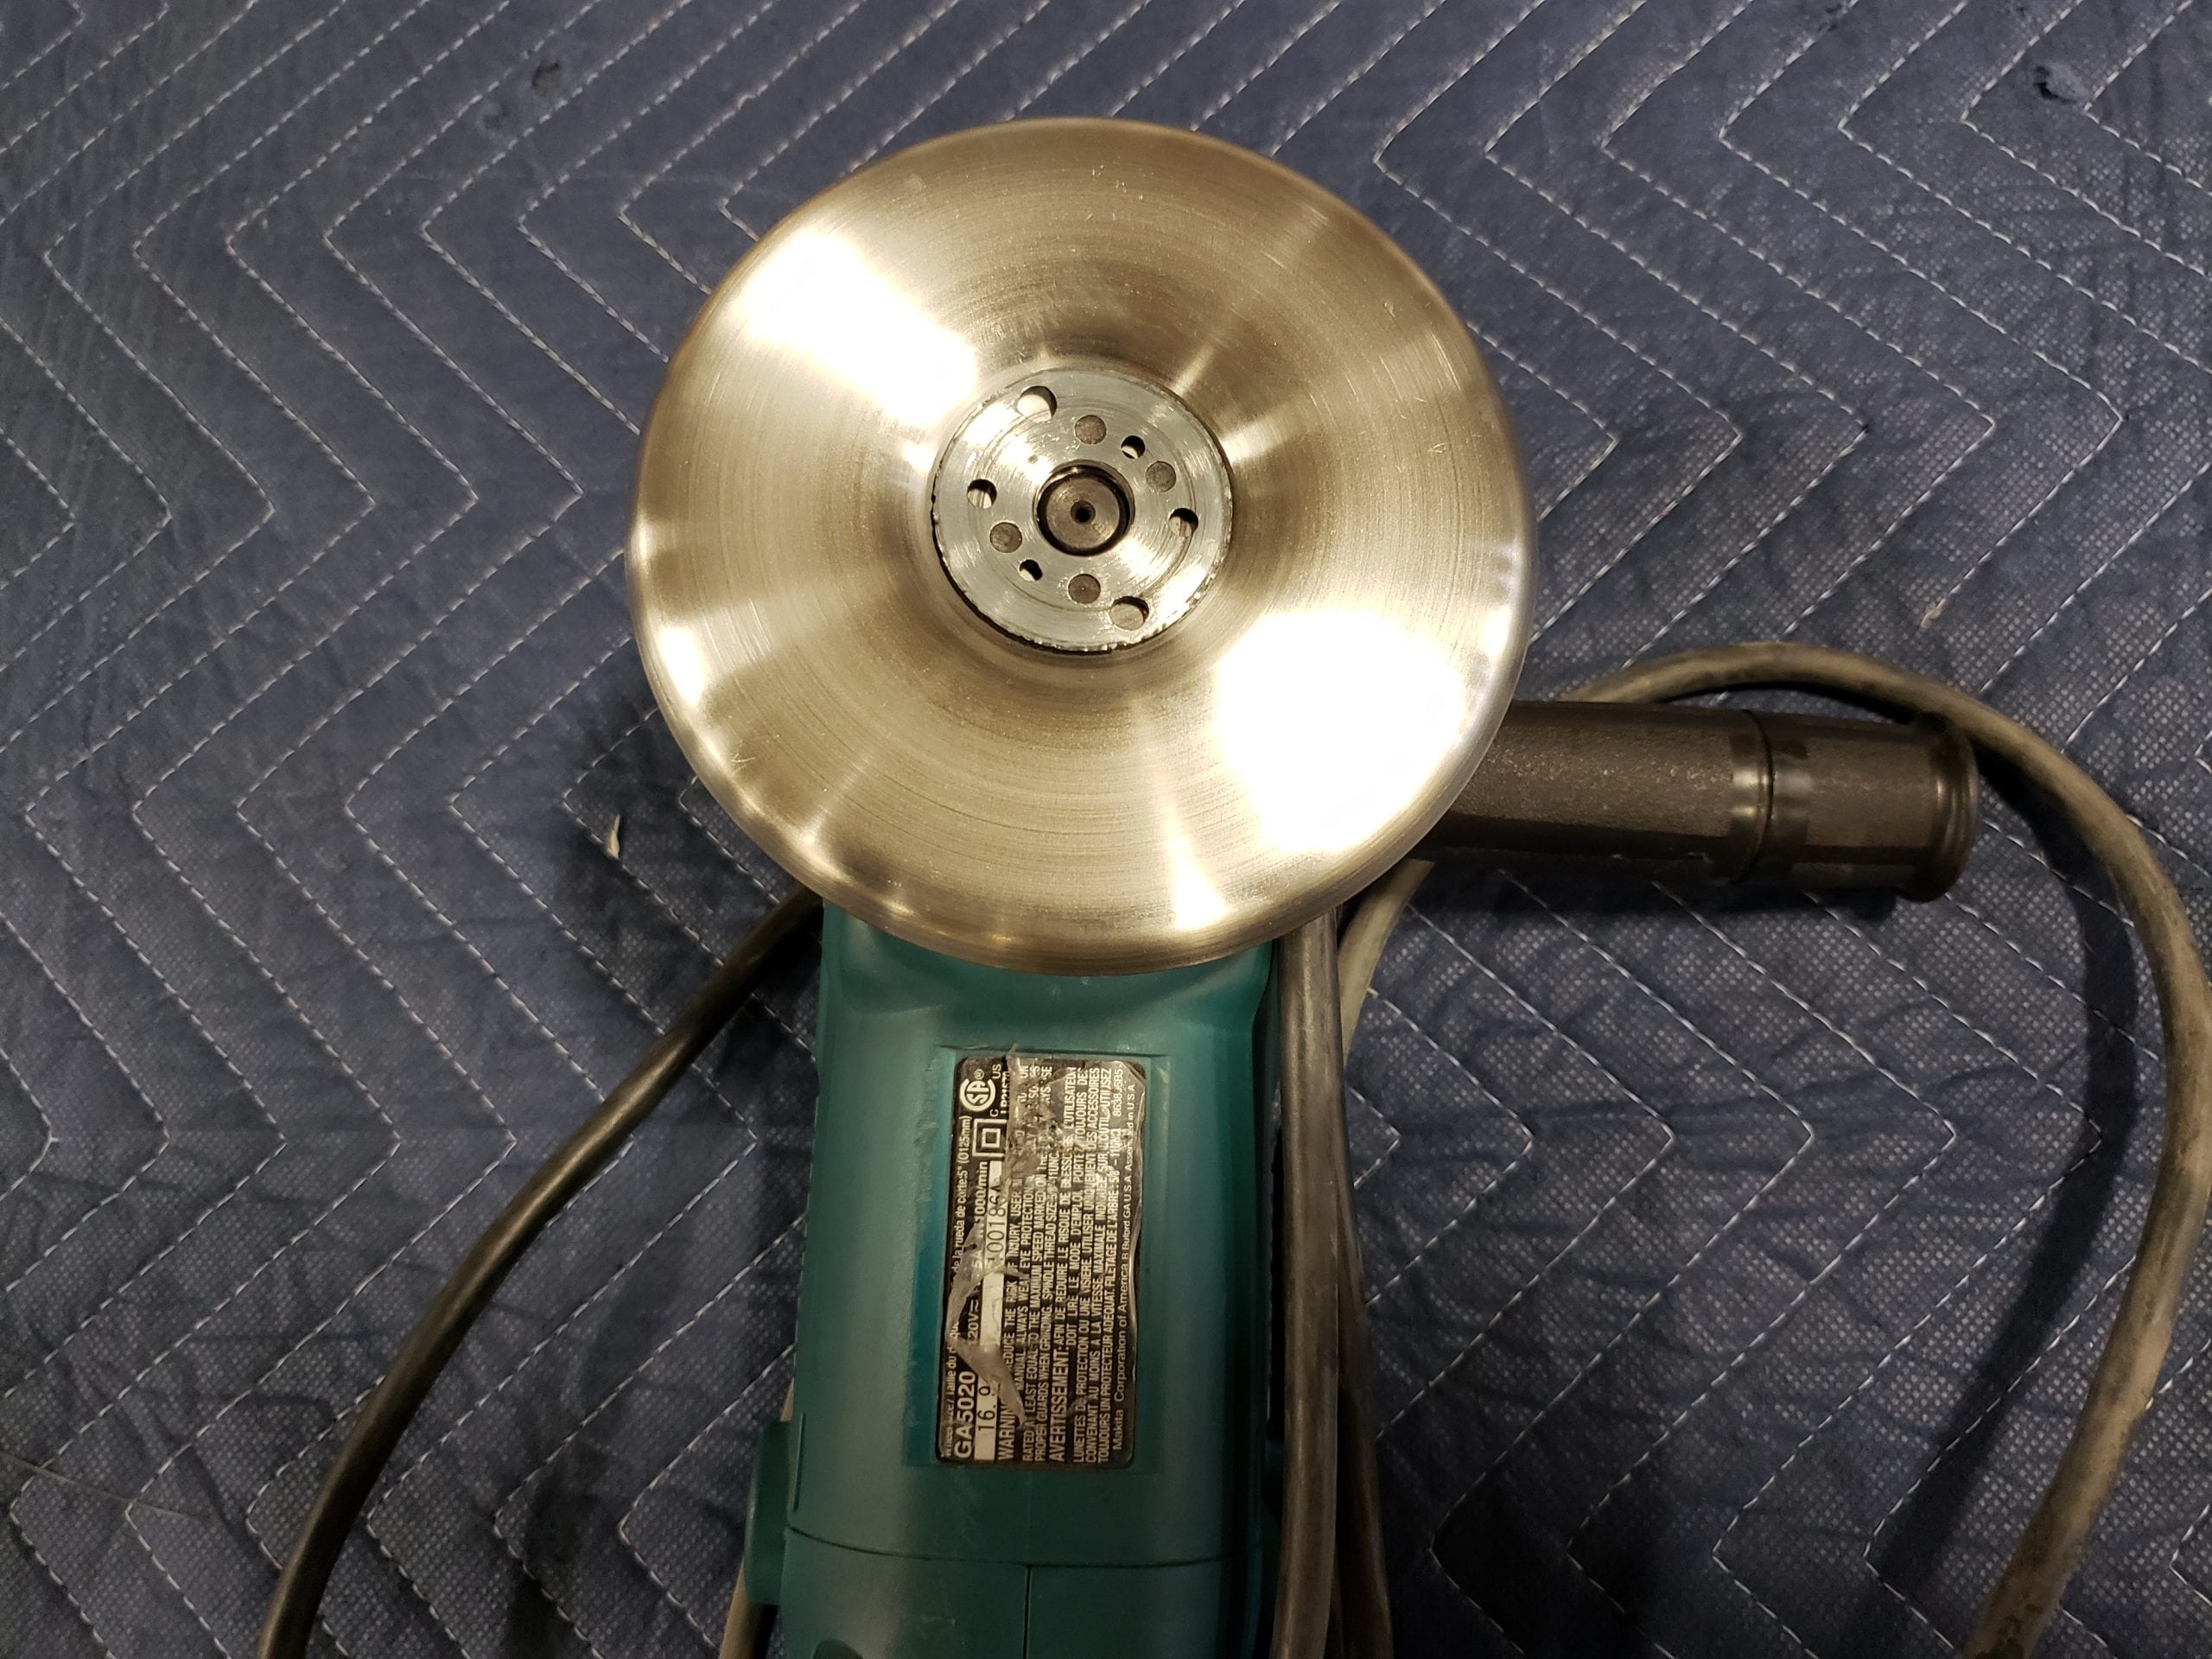
How to mount your 9″ Shrinking Disc
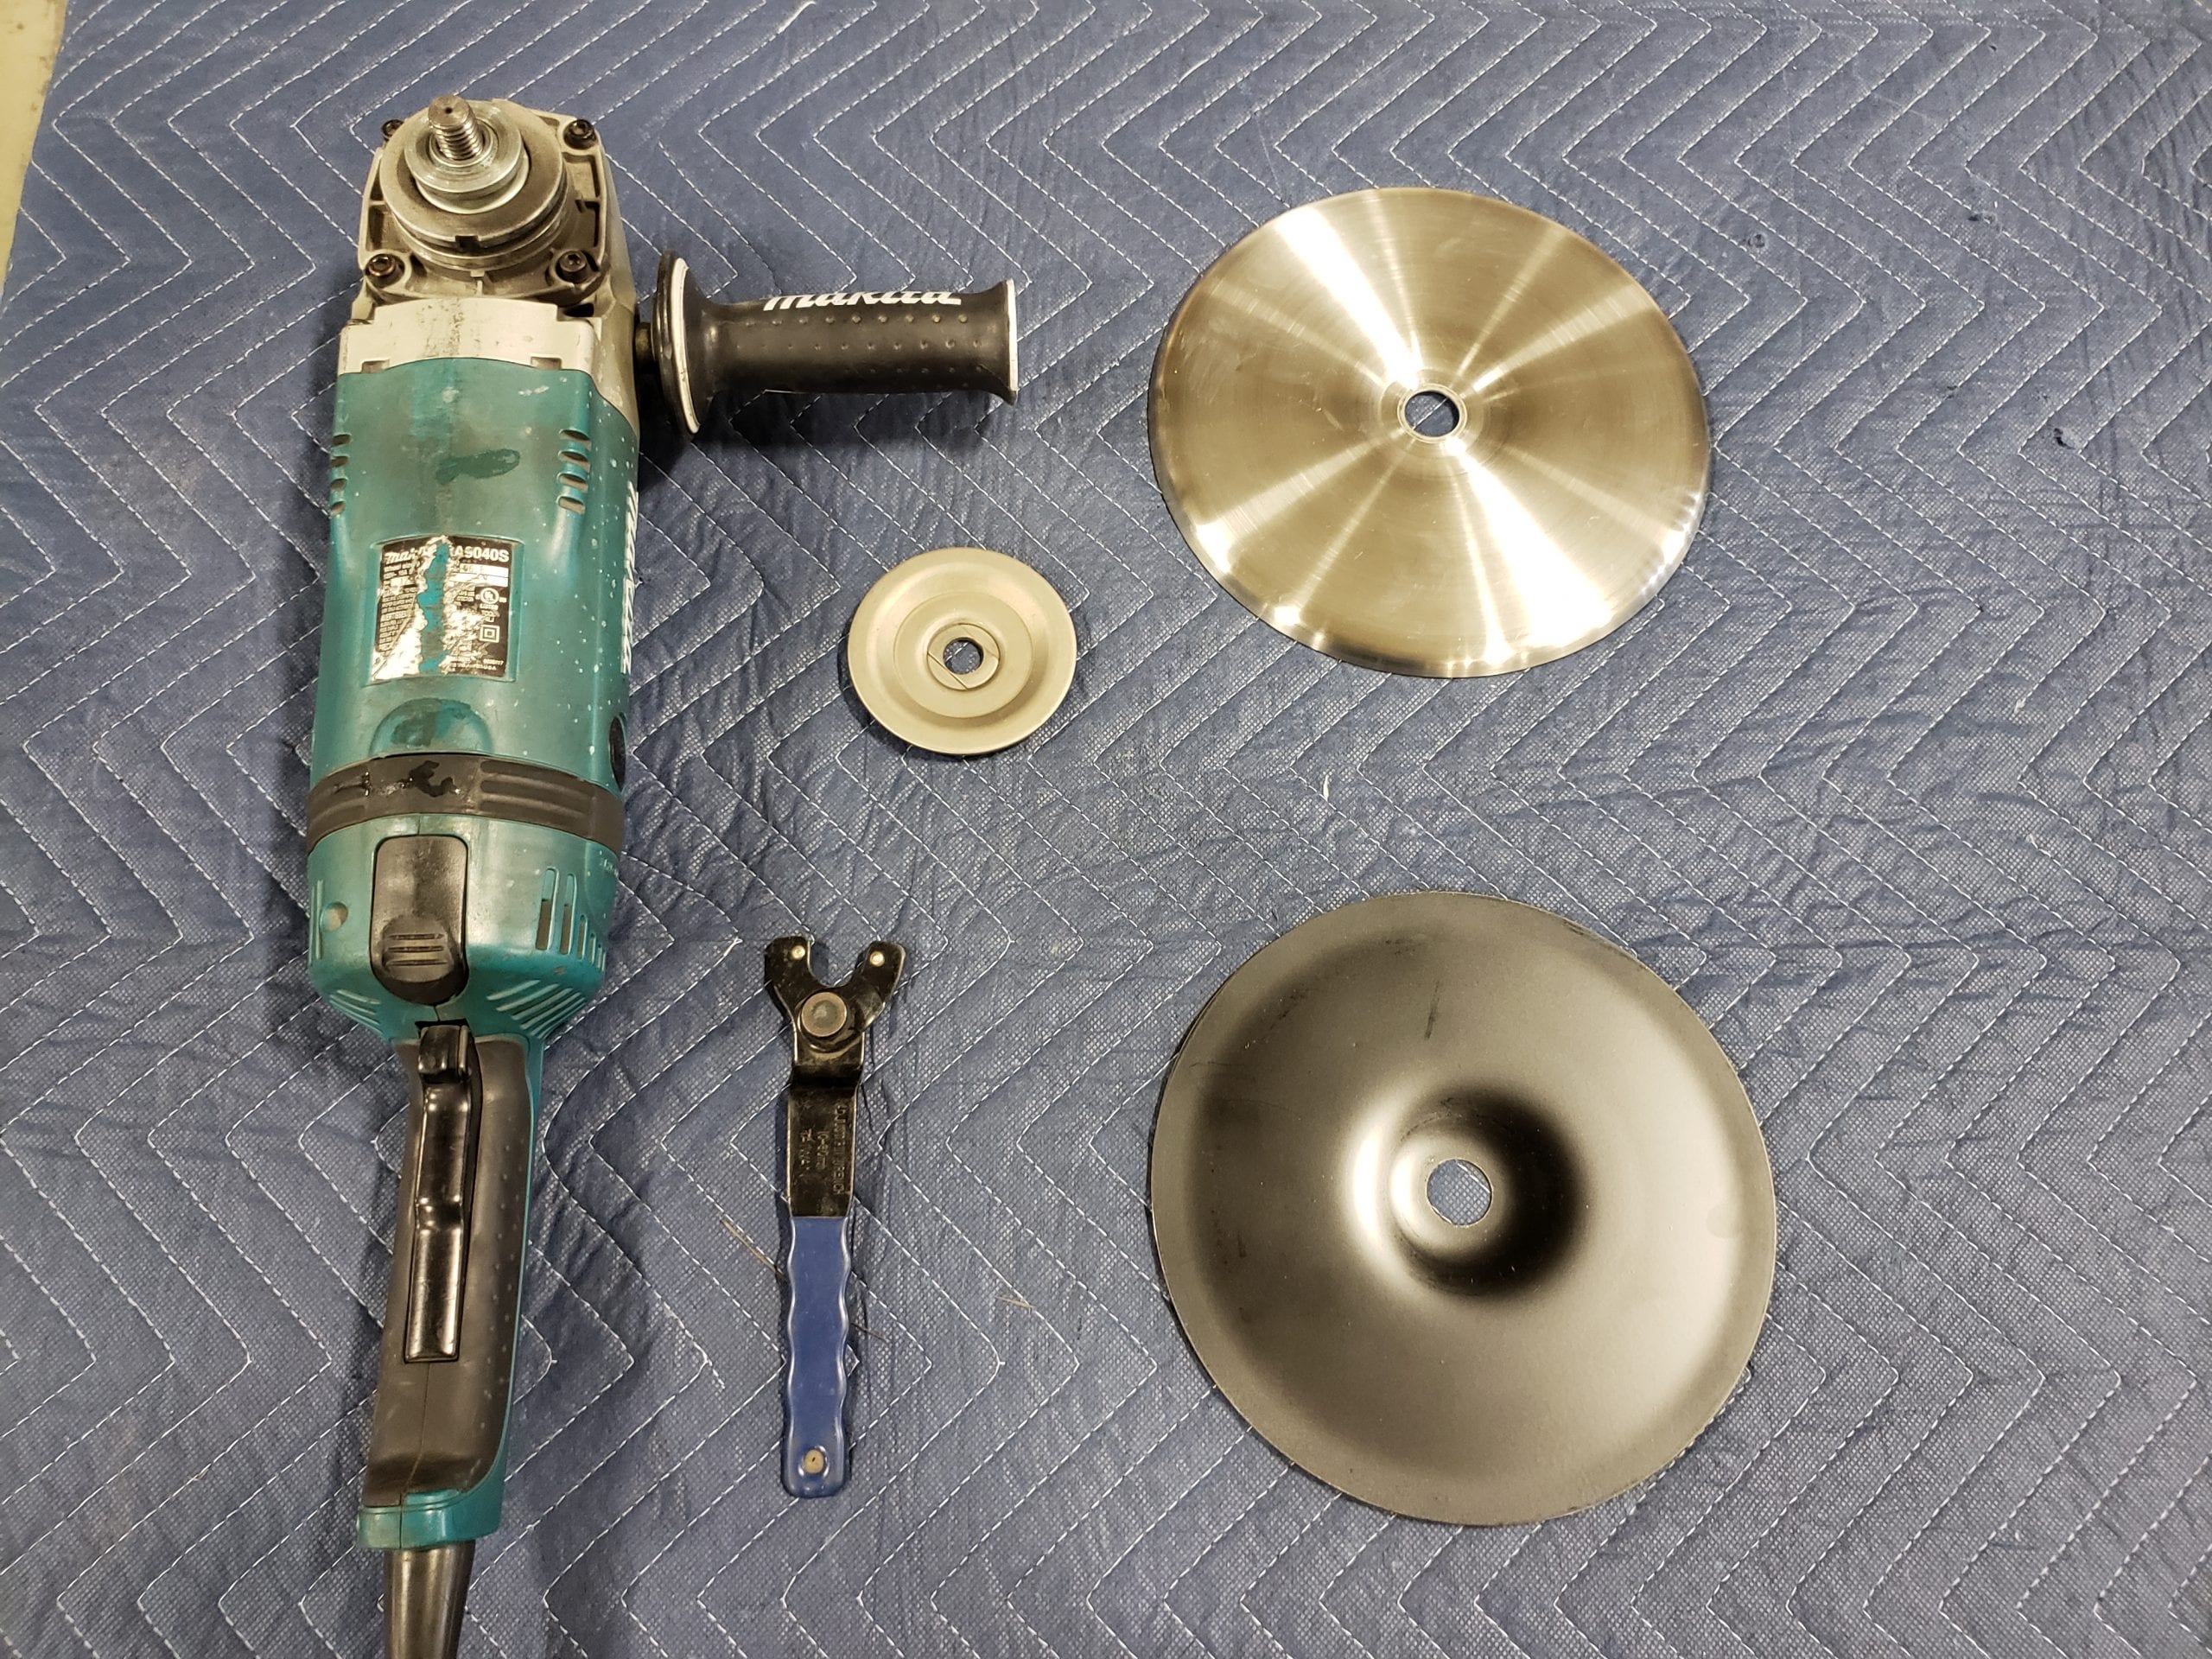
Place the support hub on first (Necessary) it comes with the grinder when you buy it new

Put the backing pad on top concave side up
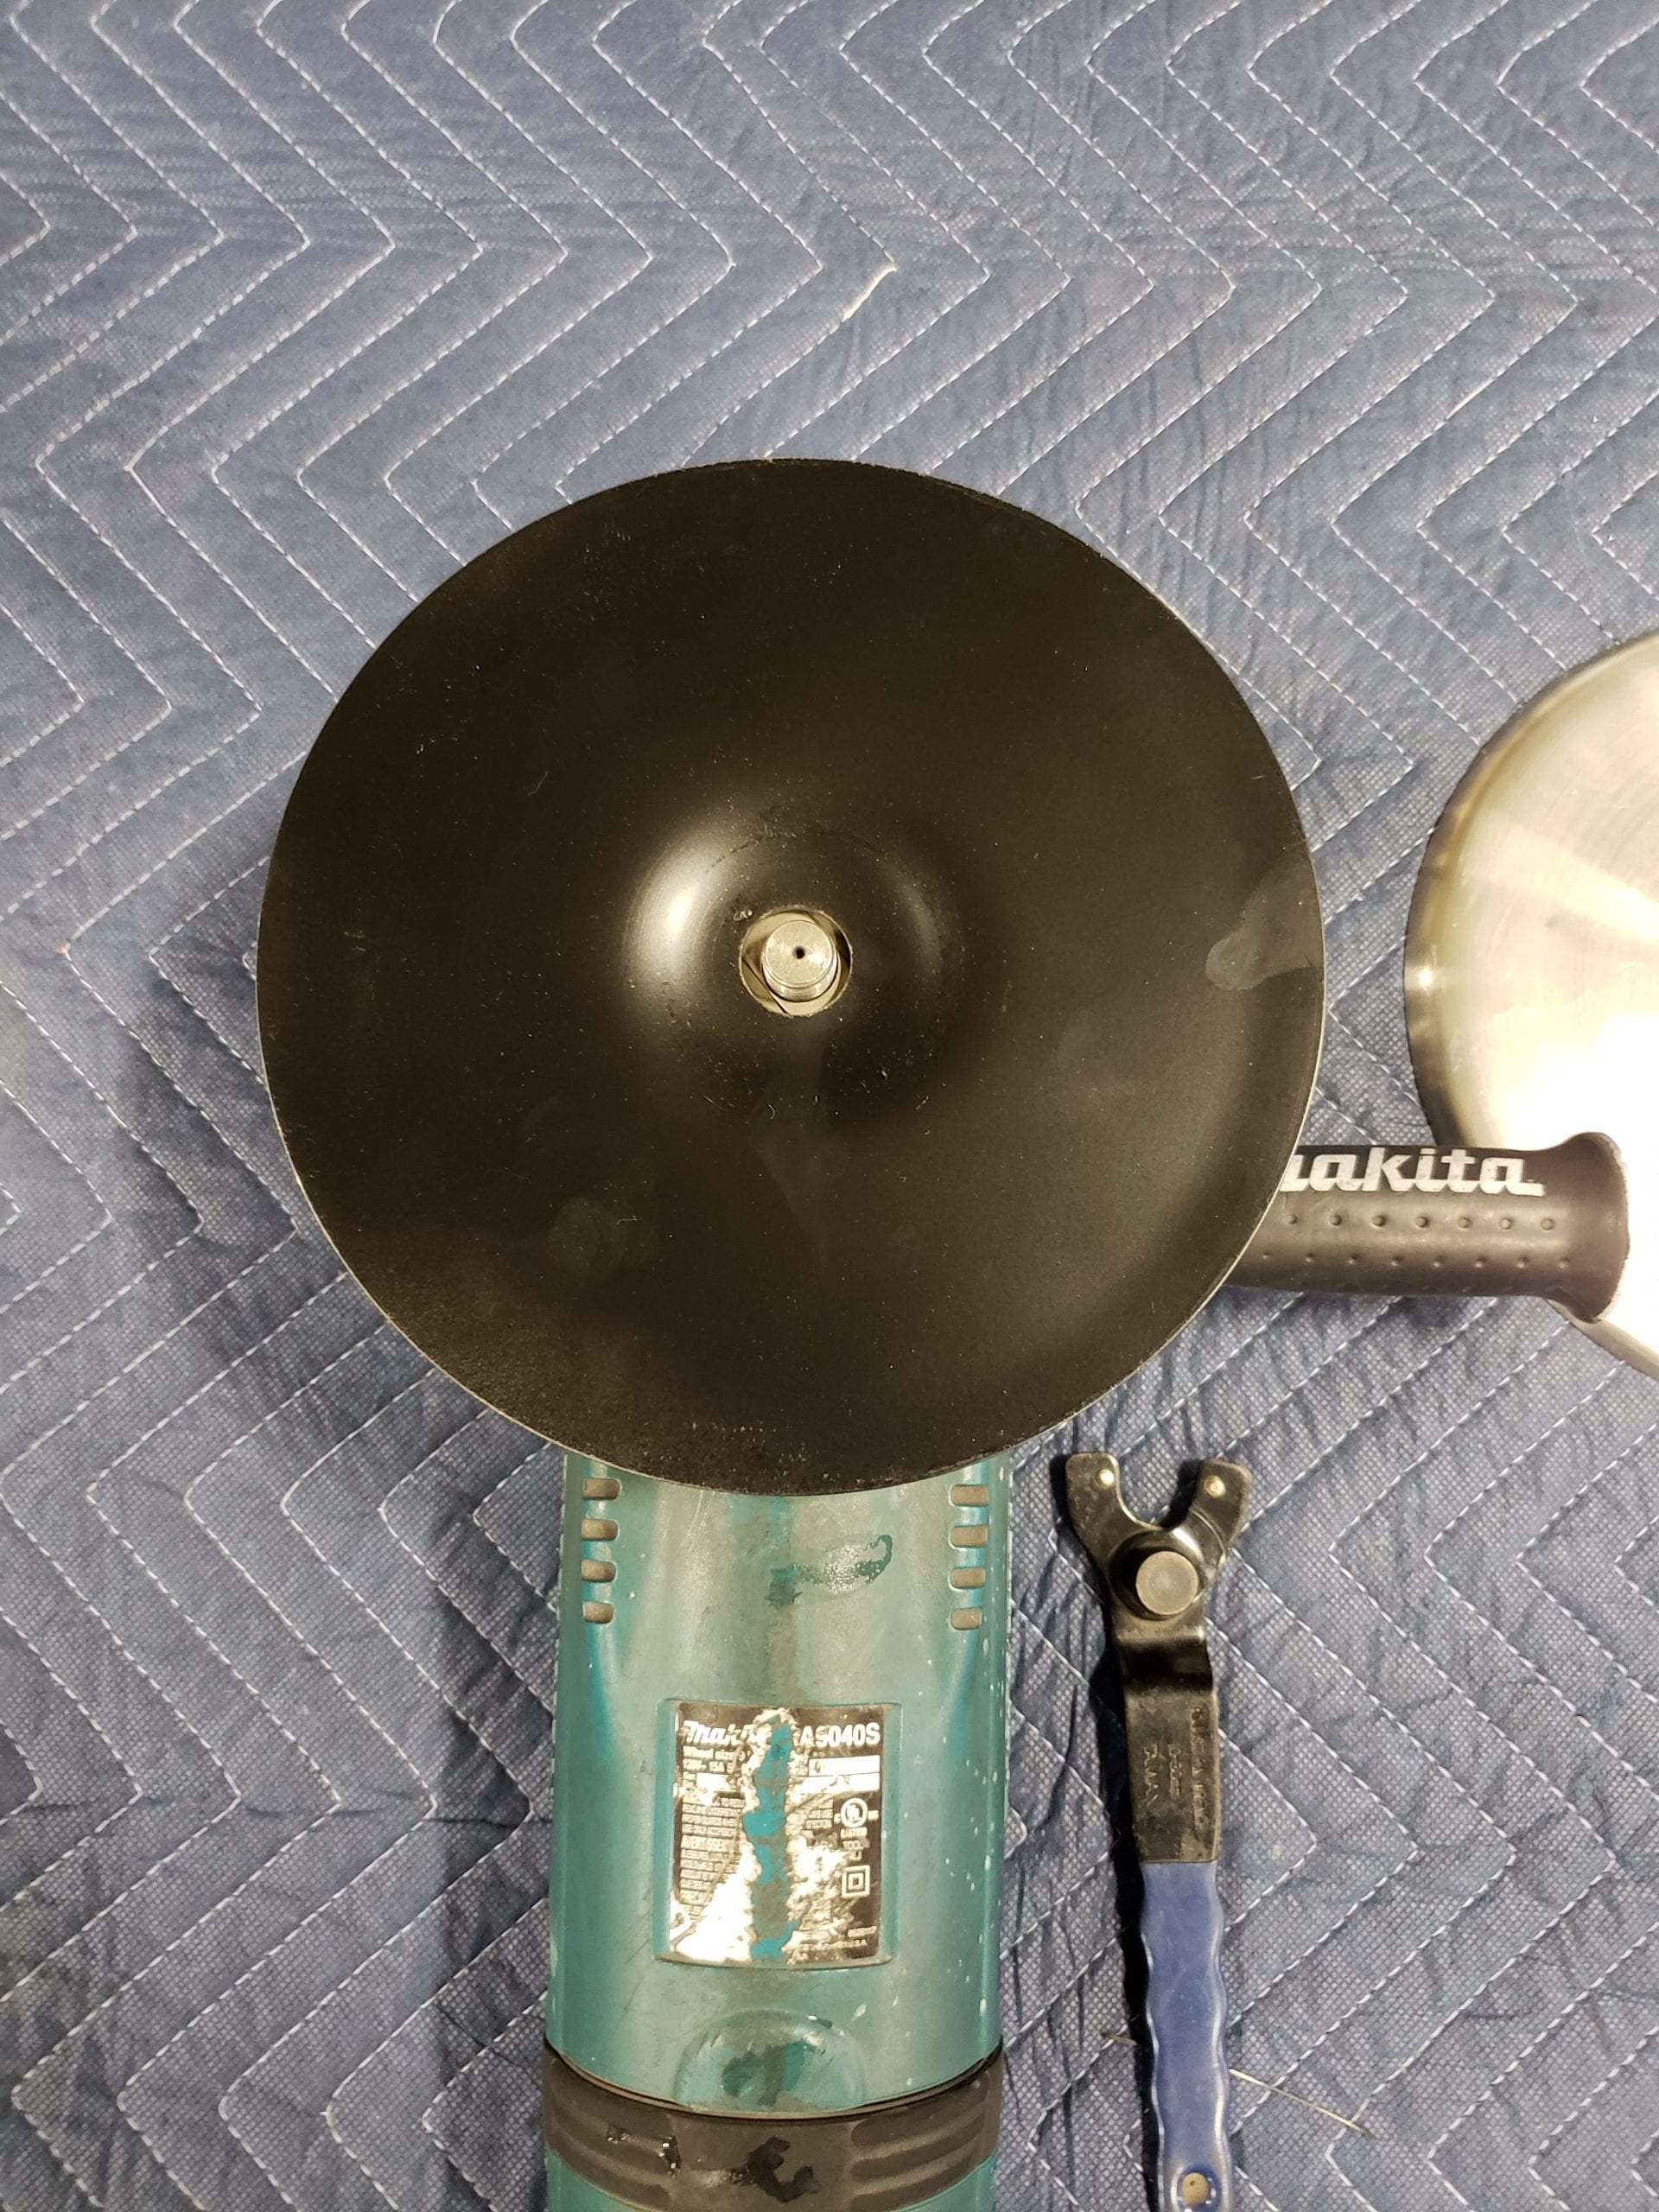
Place the 9″ shrinking disc on top with the rounded edge up.
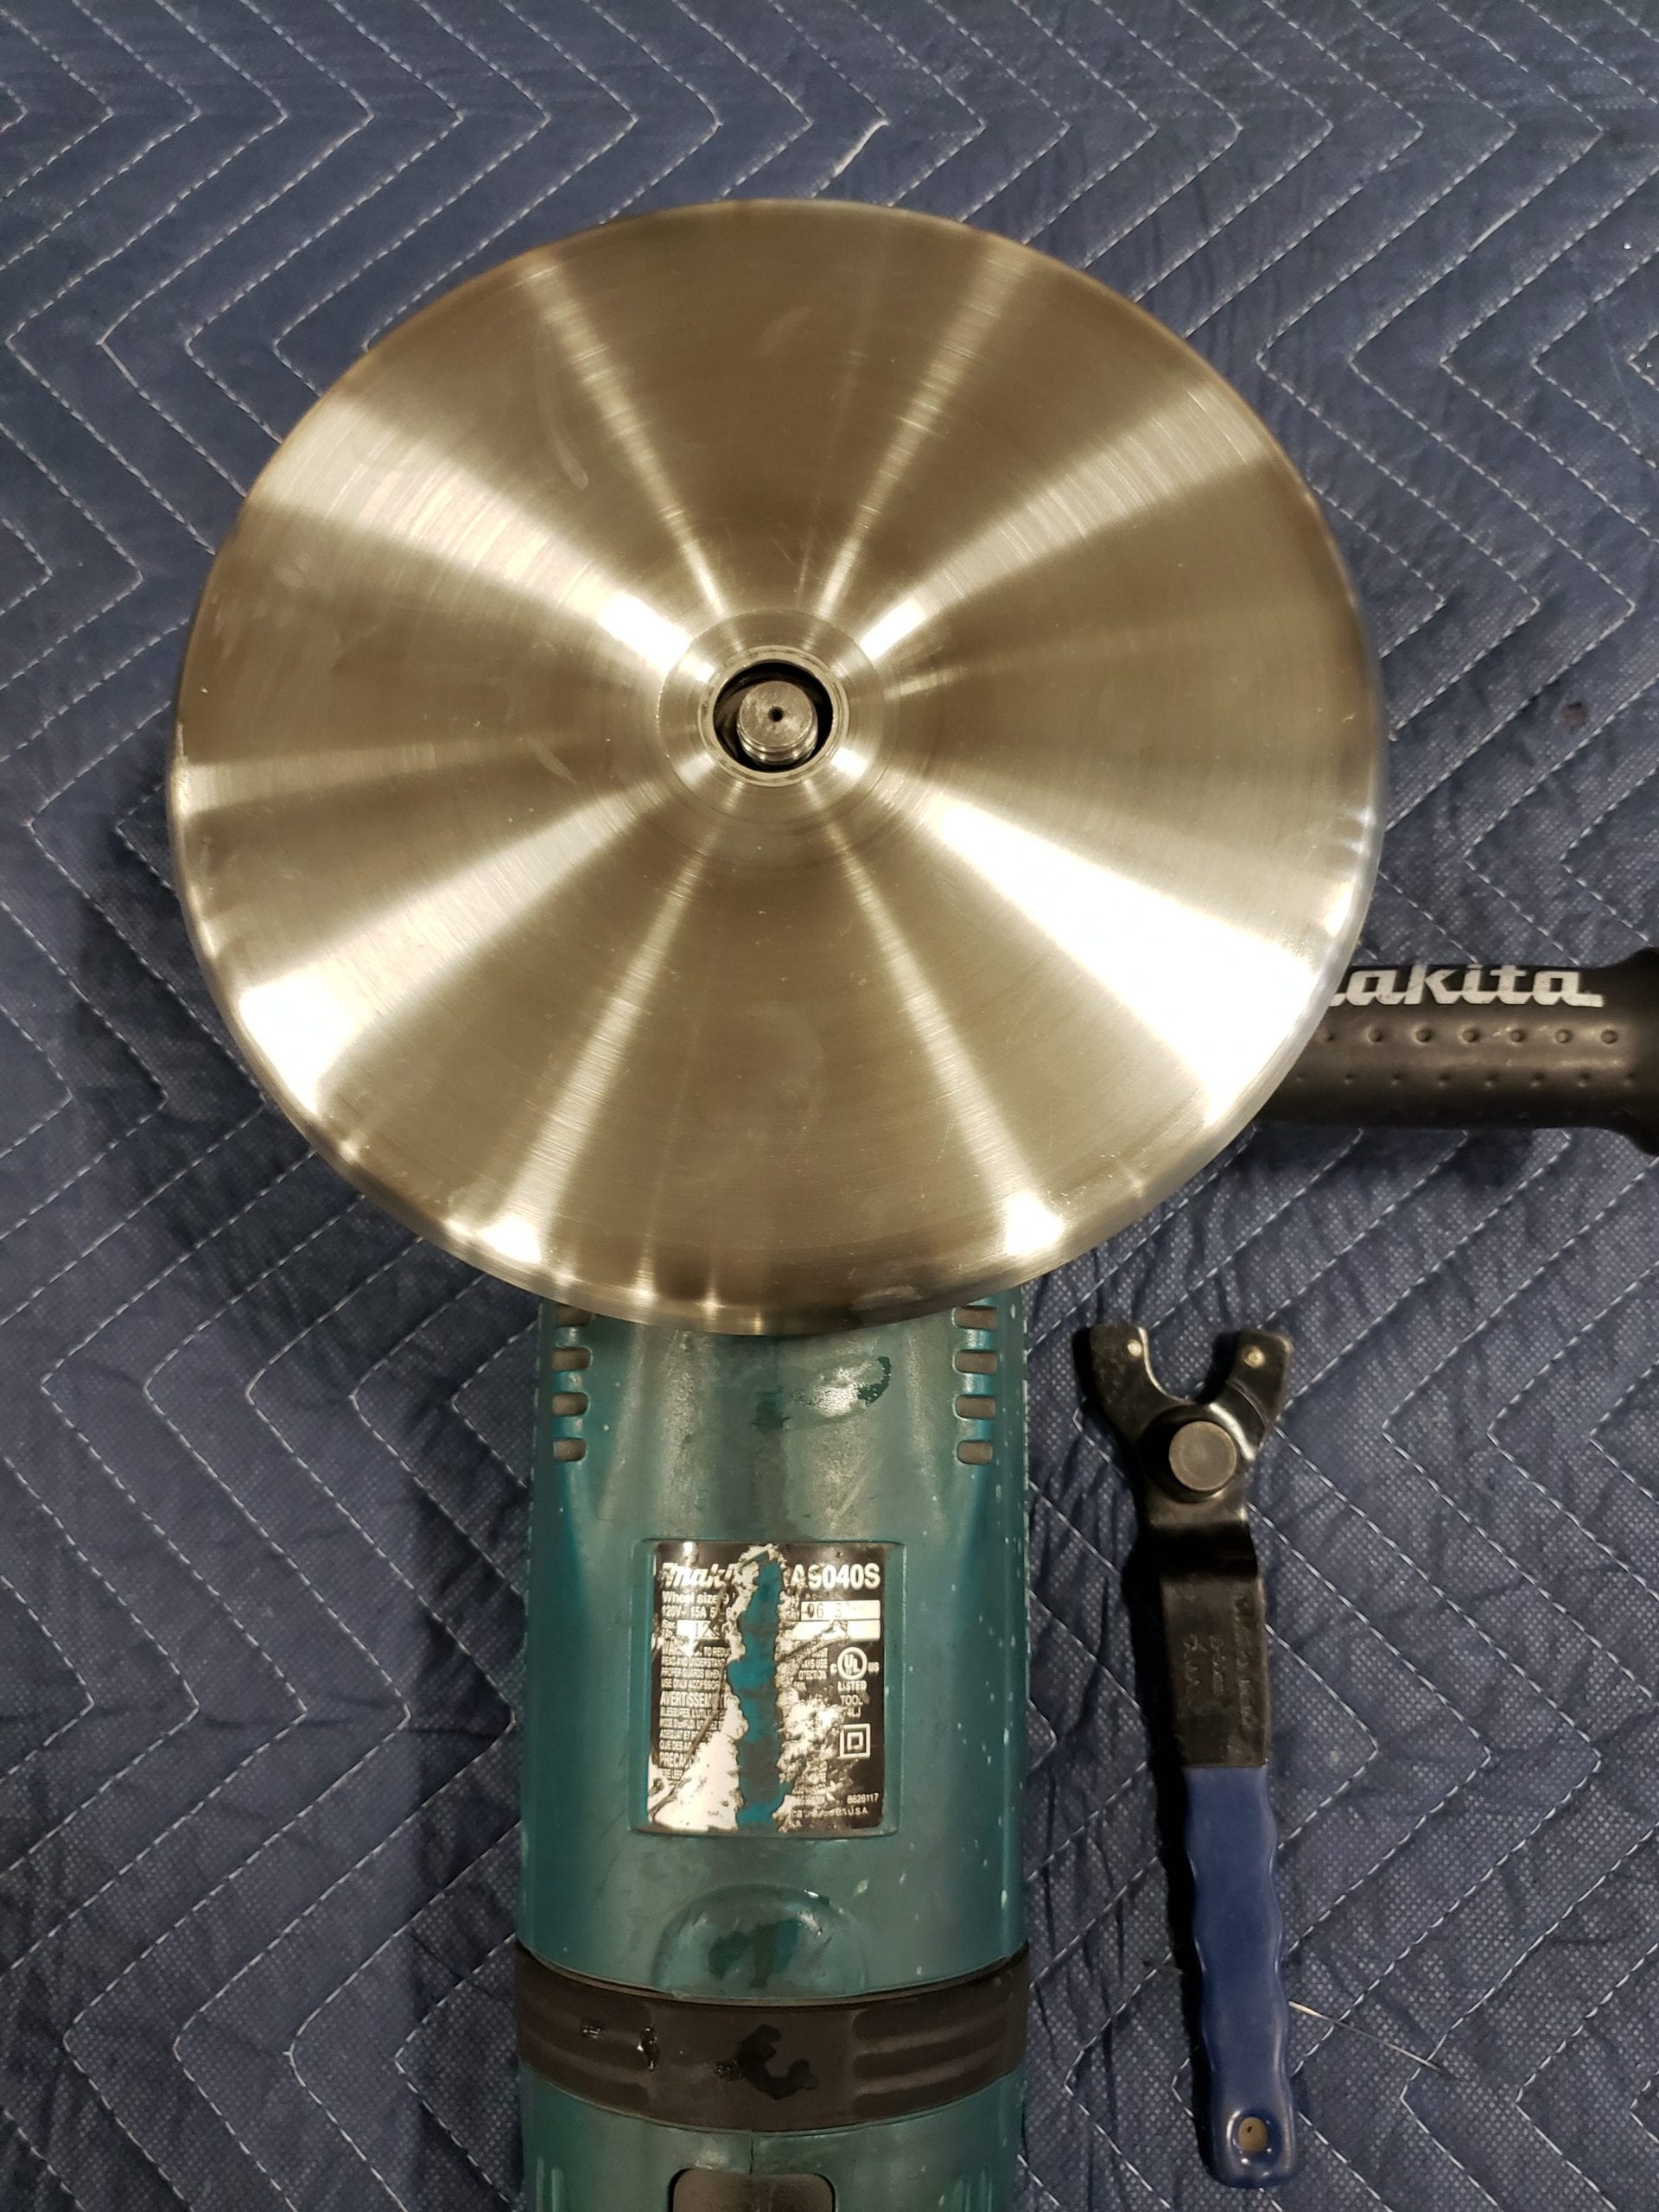
Screw on the flange neck nut (Make sure the nut and spindle are both below the working surface)
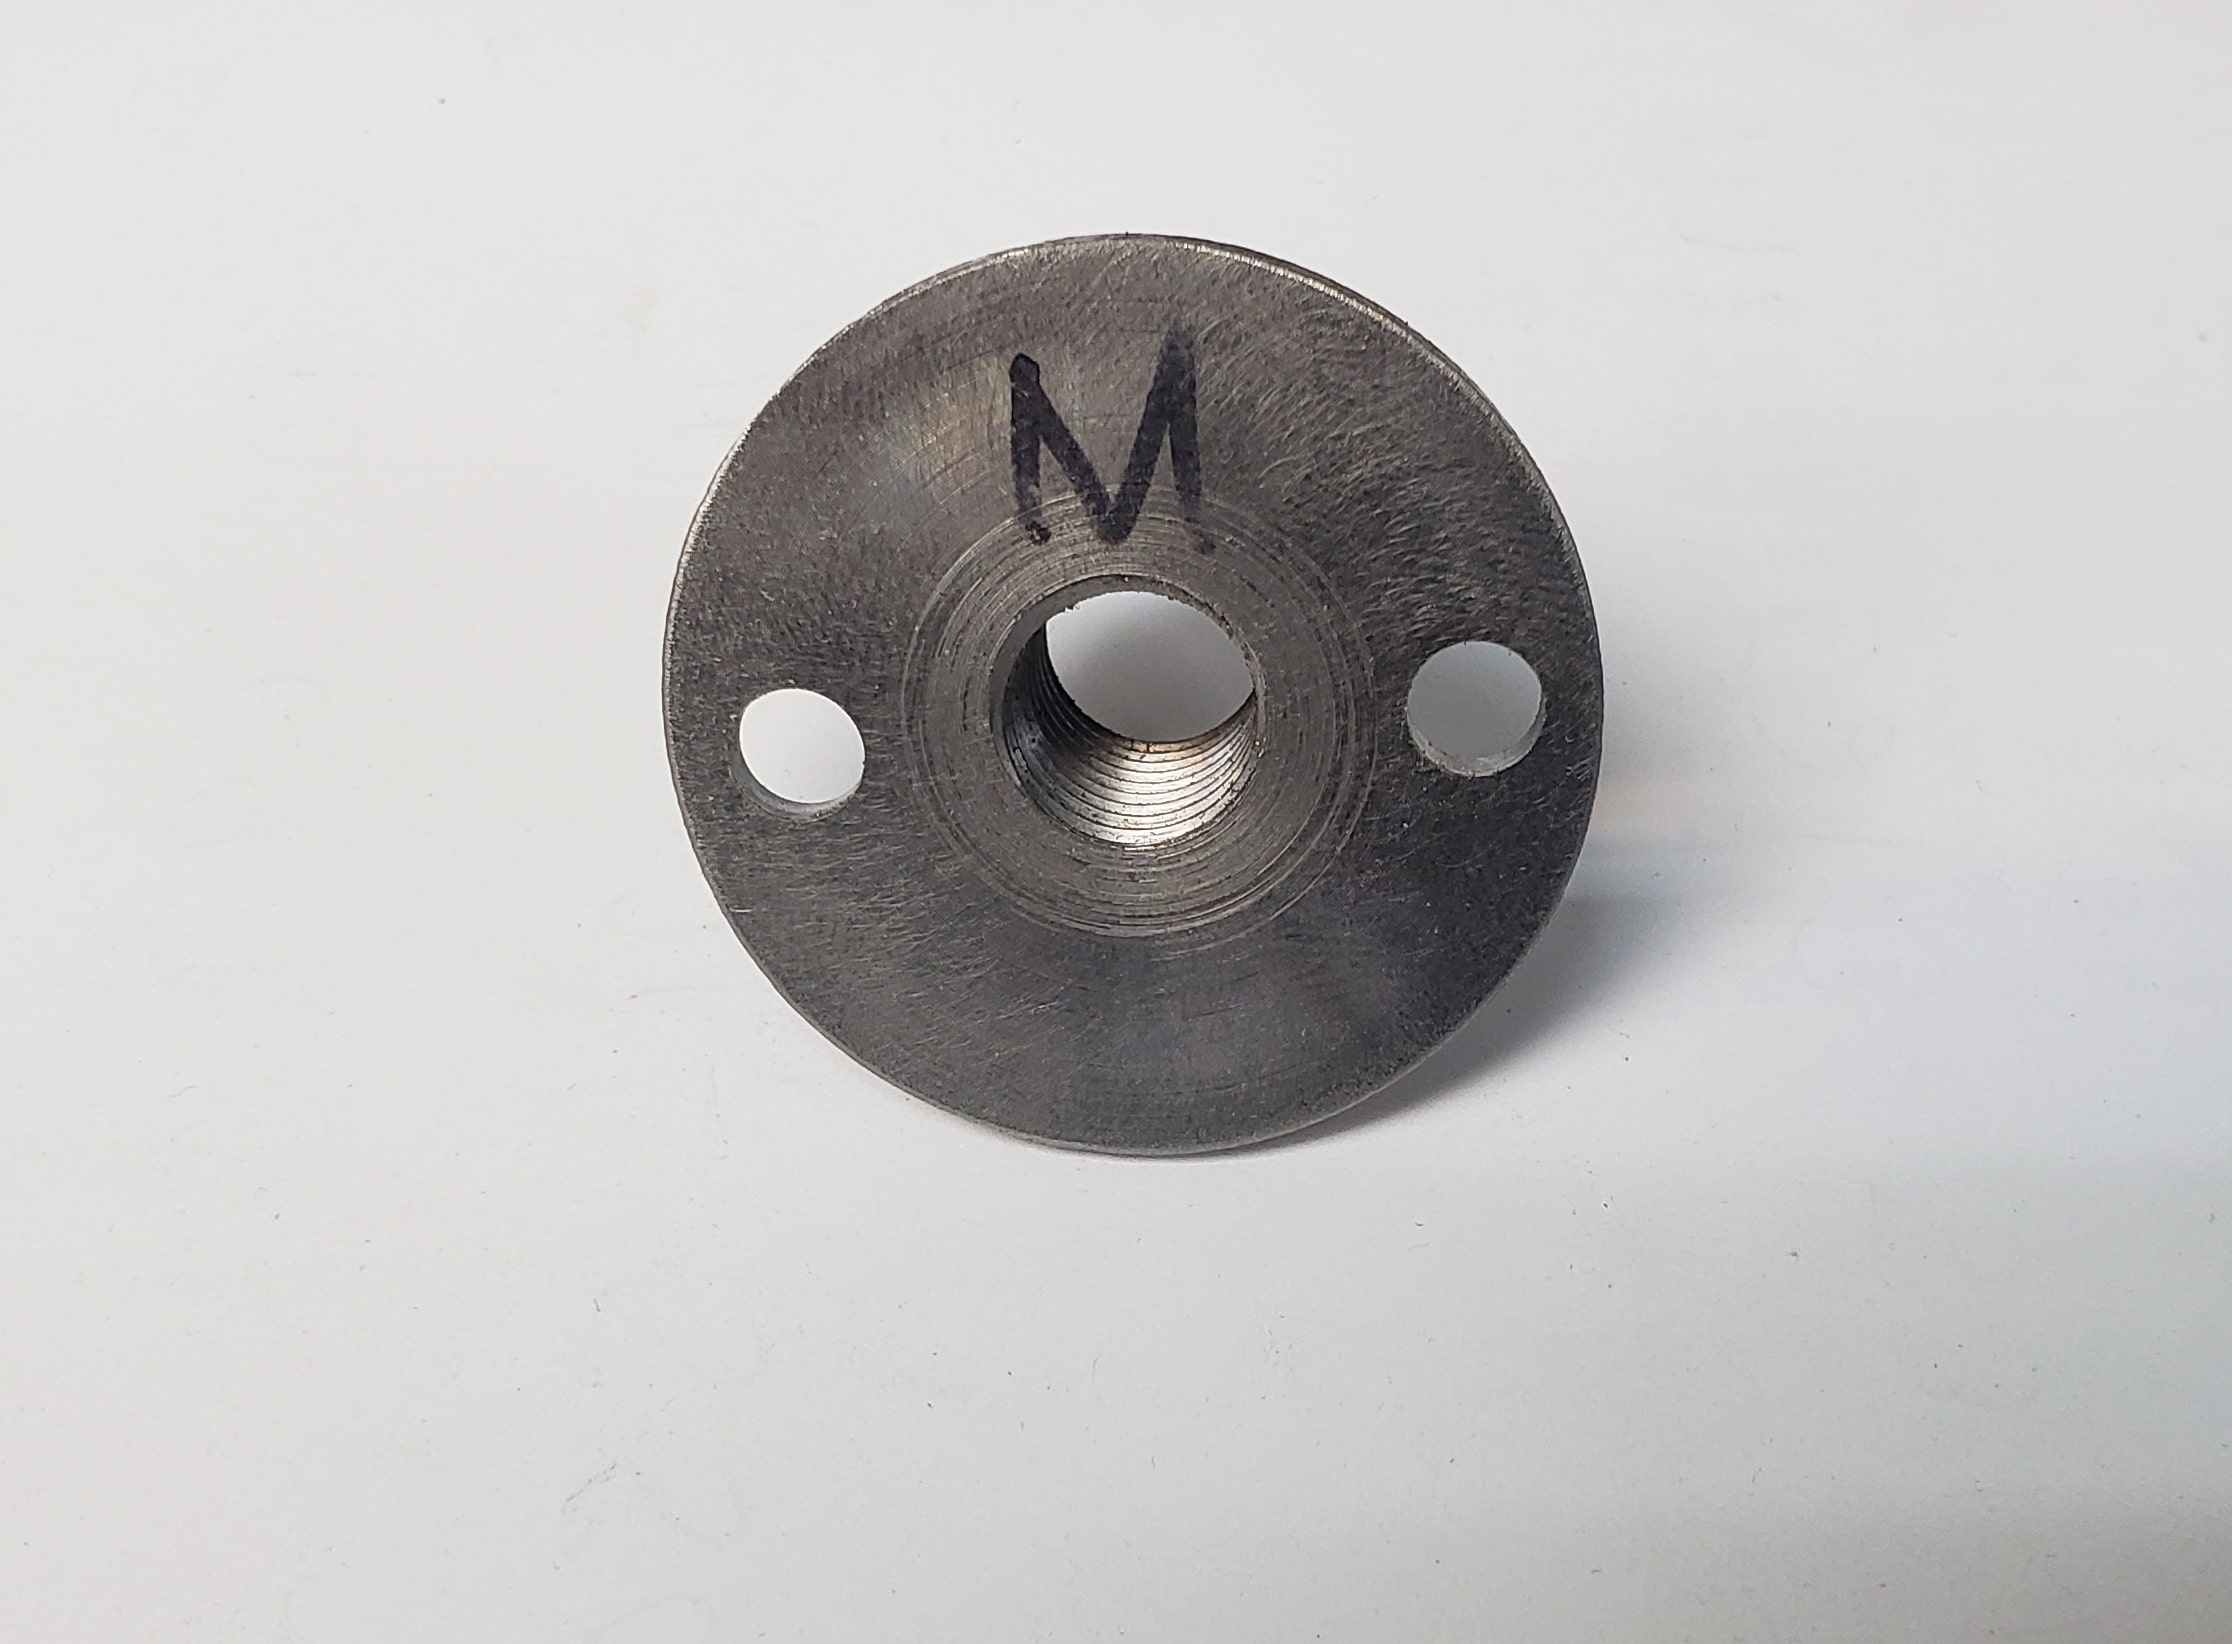
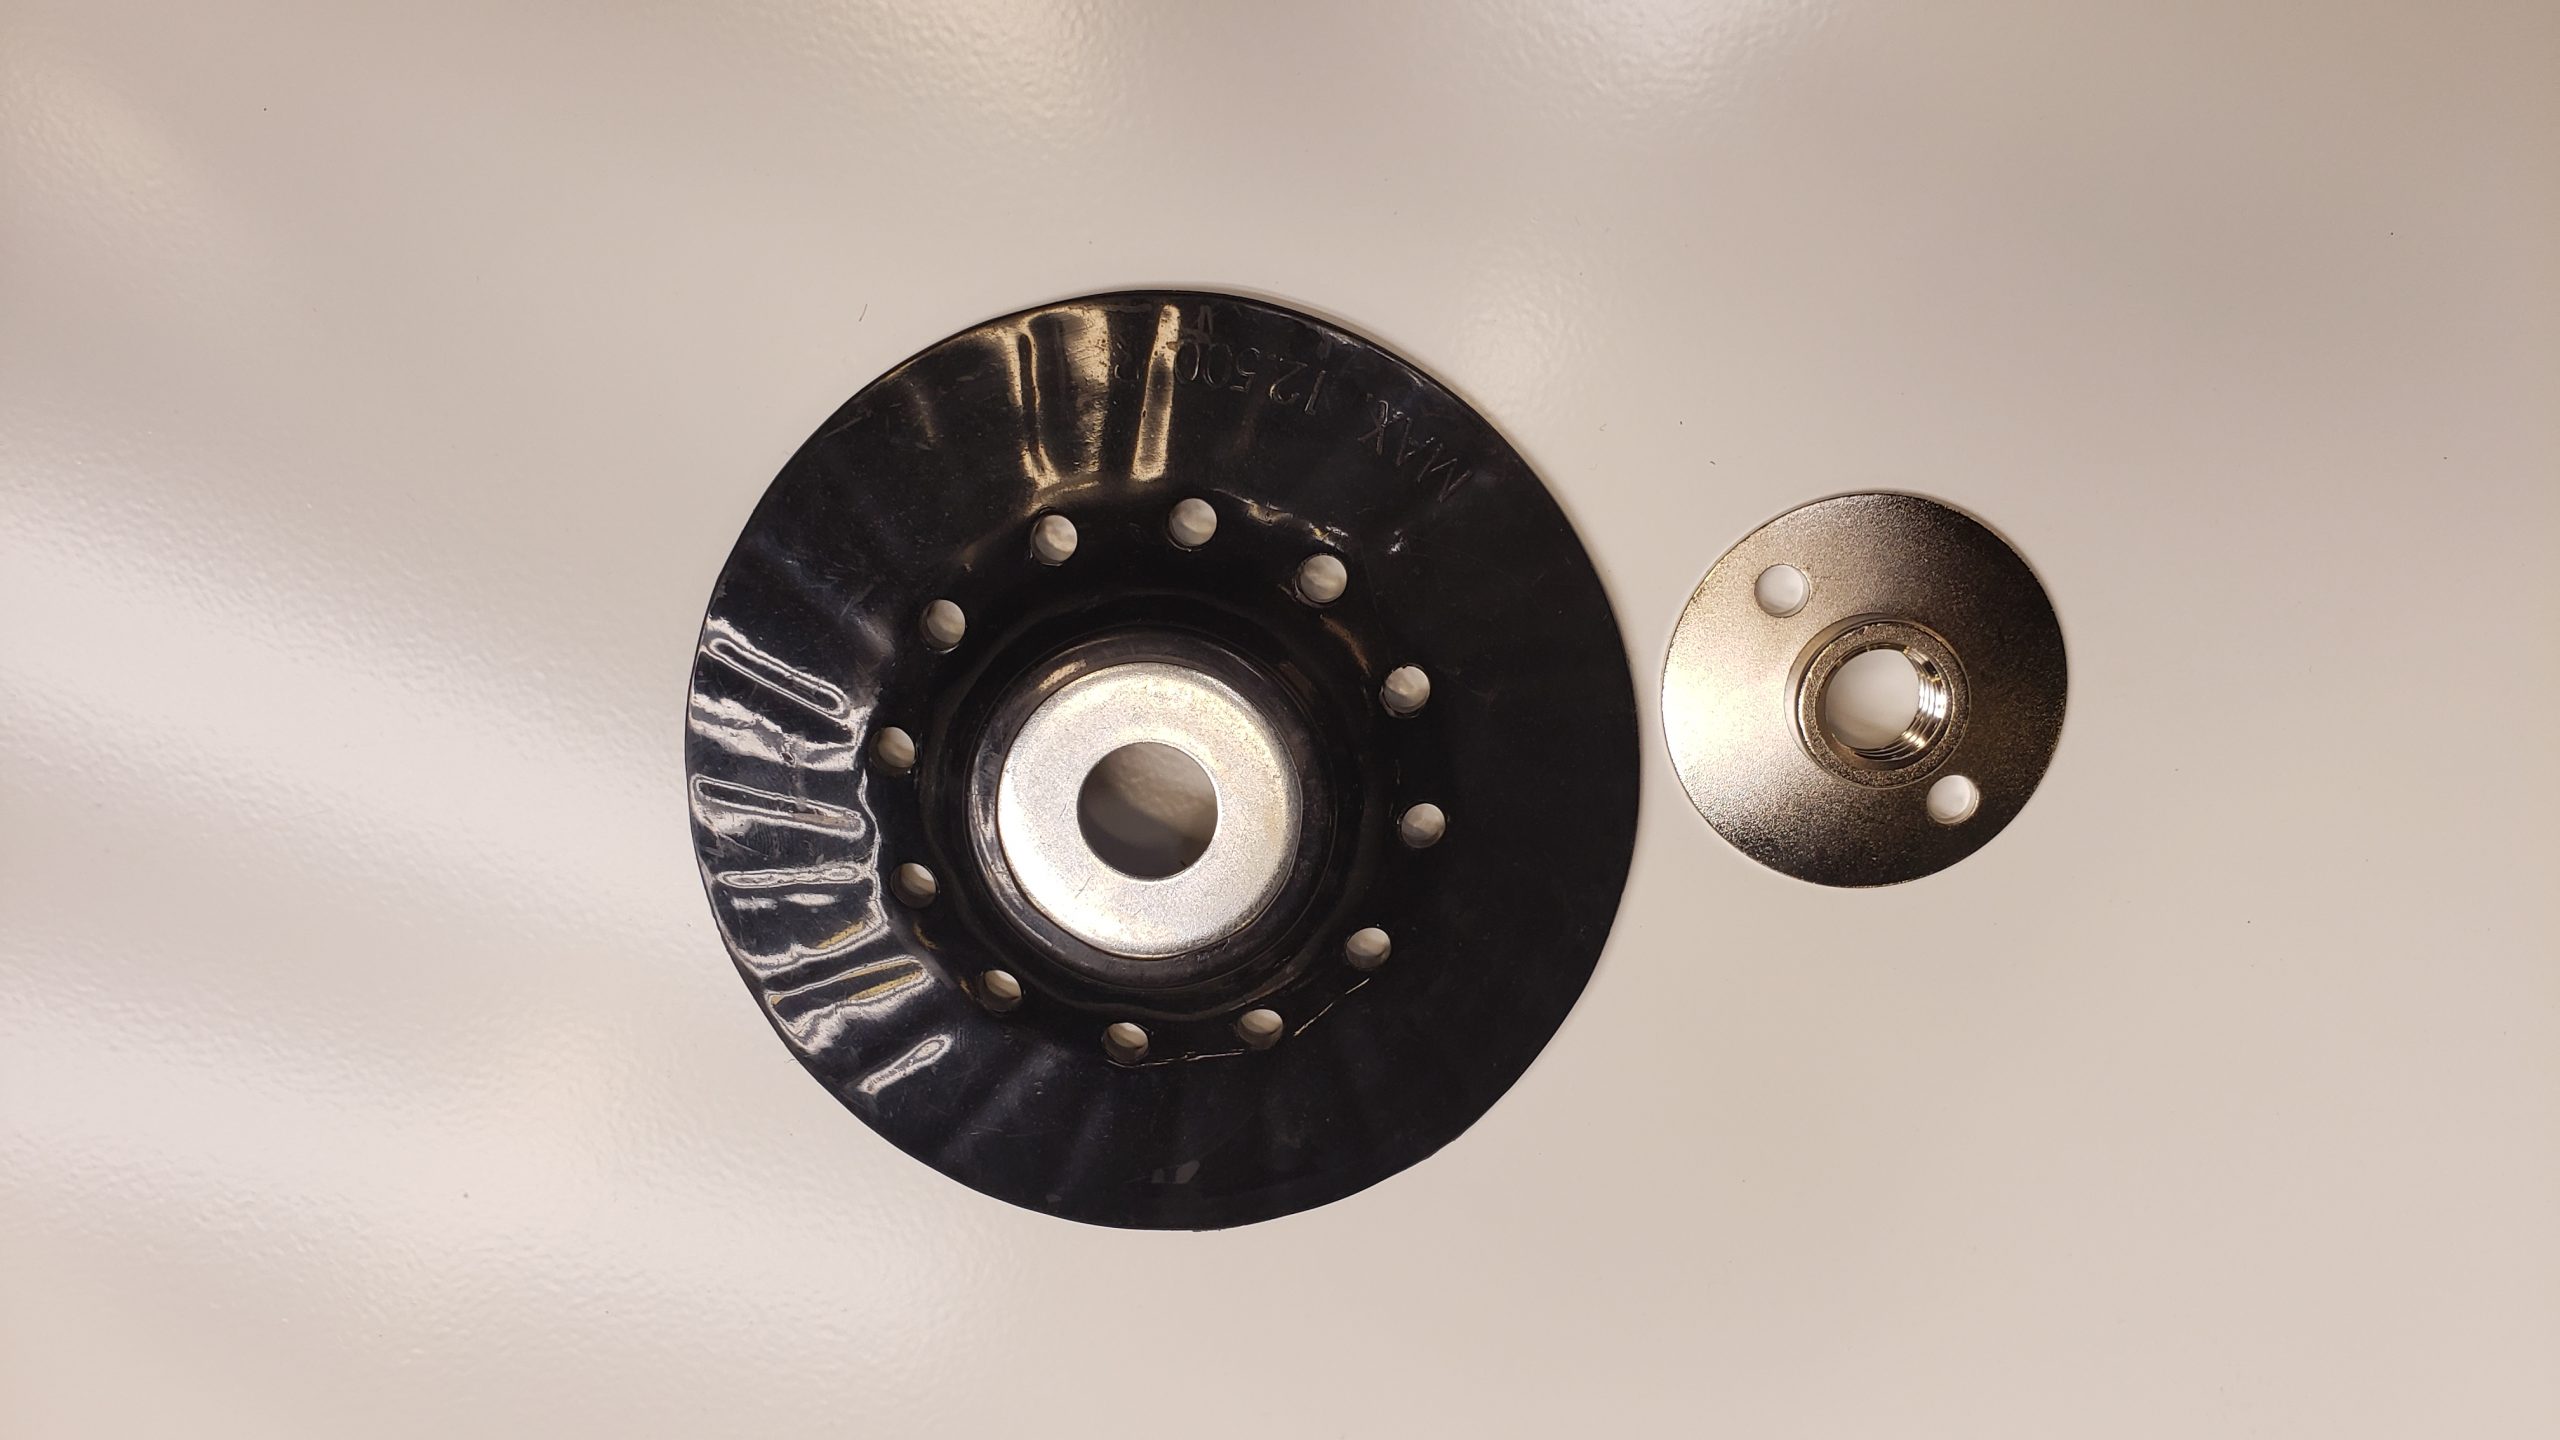
How to install your 5′ Shrinking Disc
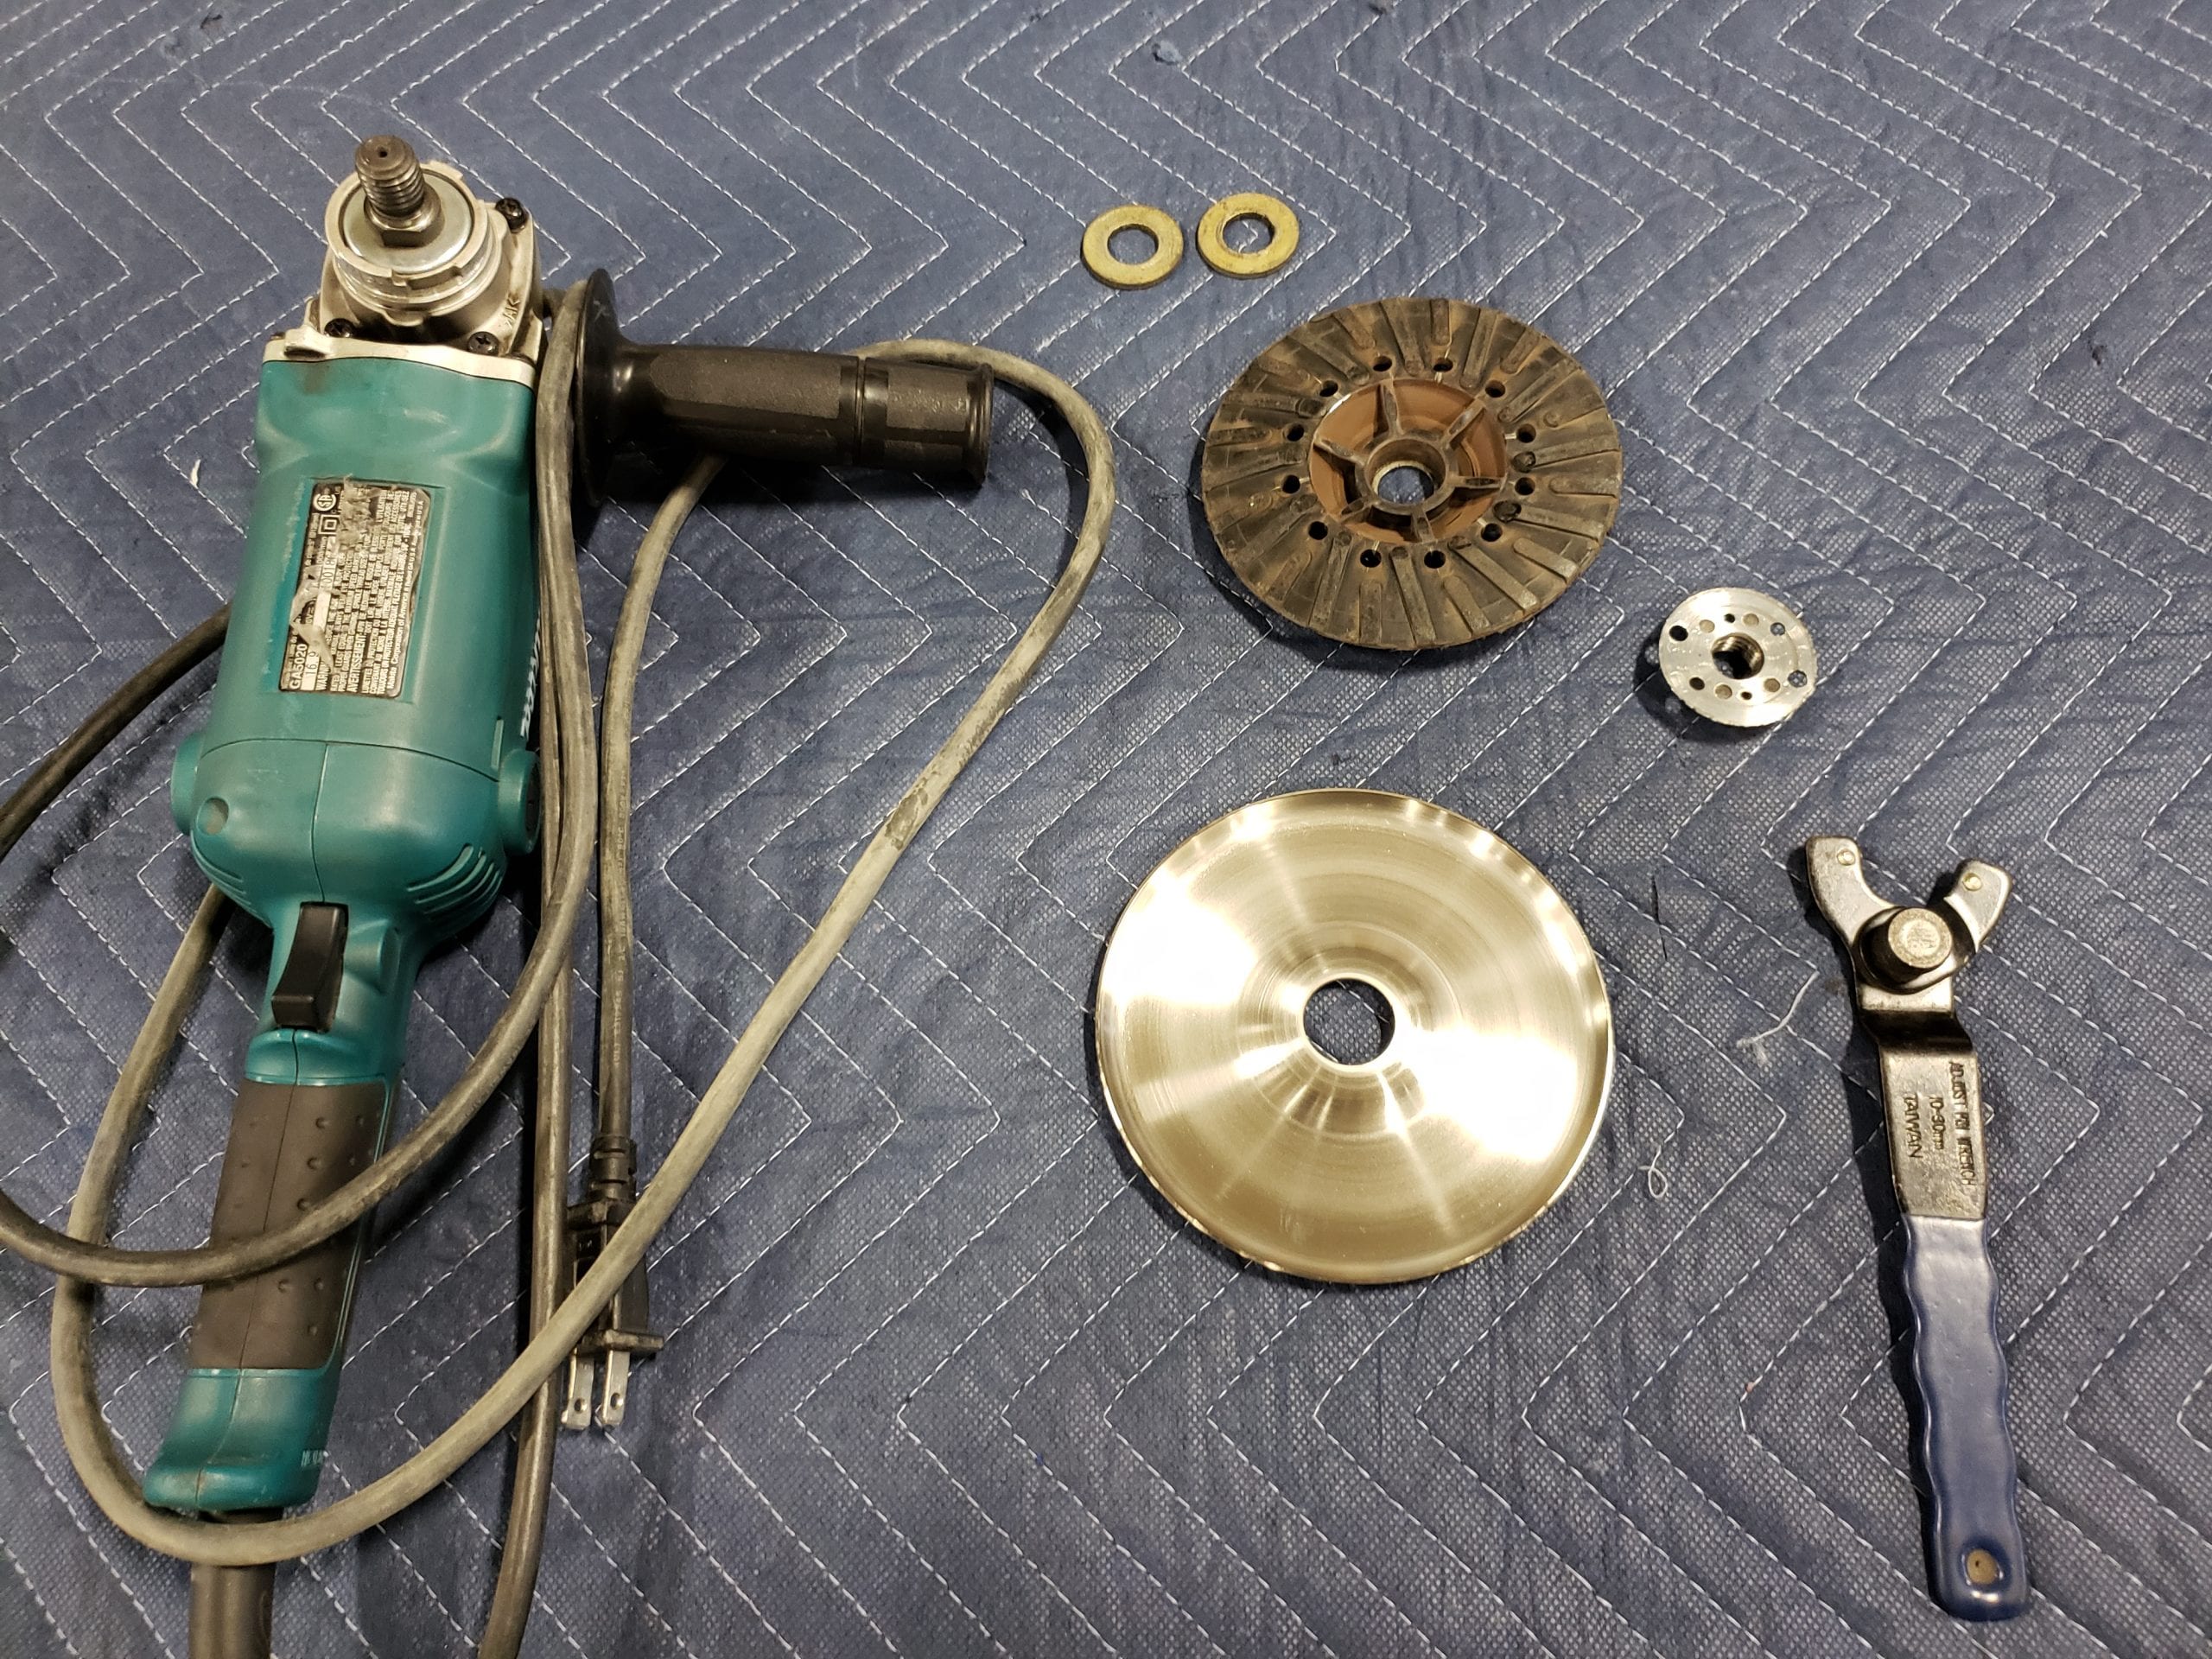
Place the 2 washers on first
Put the backing pad on top of the washers
Place the shrinking disc with the rounded edge up
Screw on the flange neck nut (Make sure the nut and spindle are both below the working surface)
Reviews
There are no reviews yet.